I wanted to make a tutorial on how to use a SATA power extension cable, modified to remove the fifth wire (the 3.3v power wire), to power these drives.
This guide uses cables from the Ultimate Parts List: Cable Section Look for the
SATA Power Splitter 1 to 4
I used these packs:
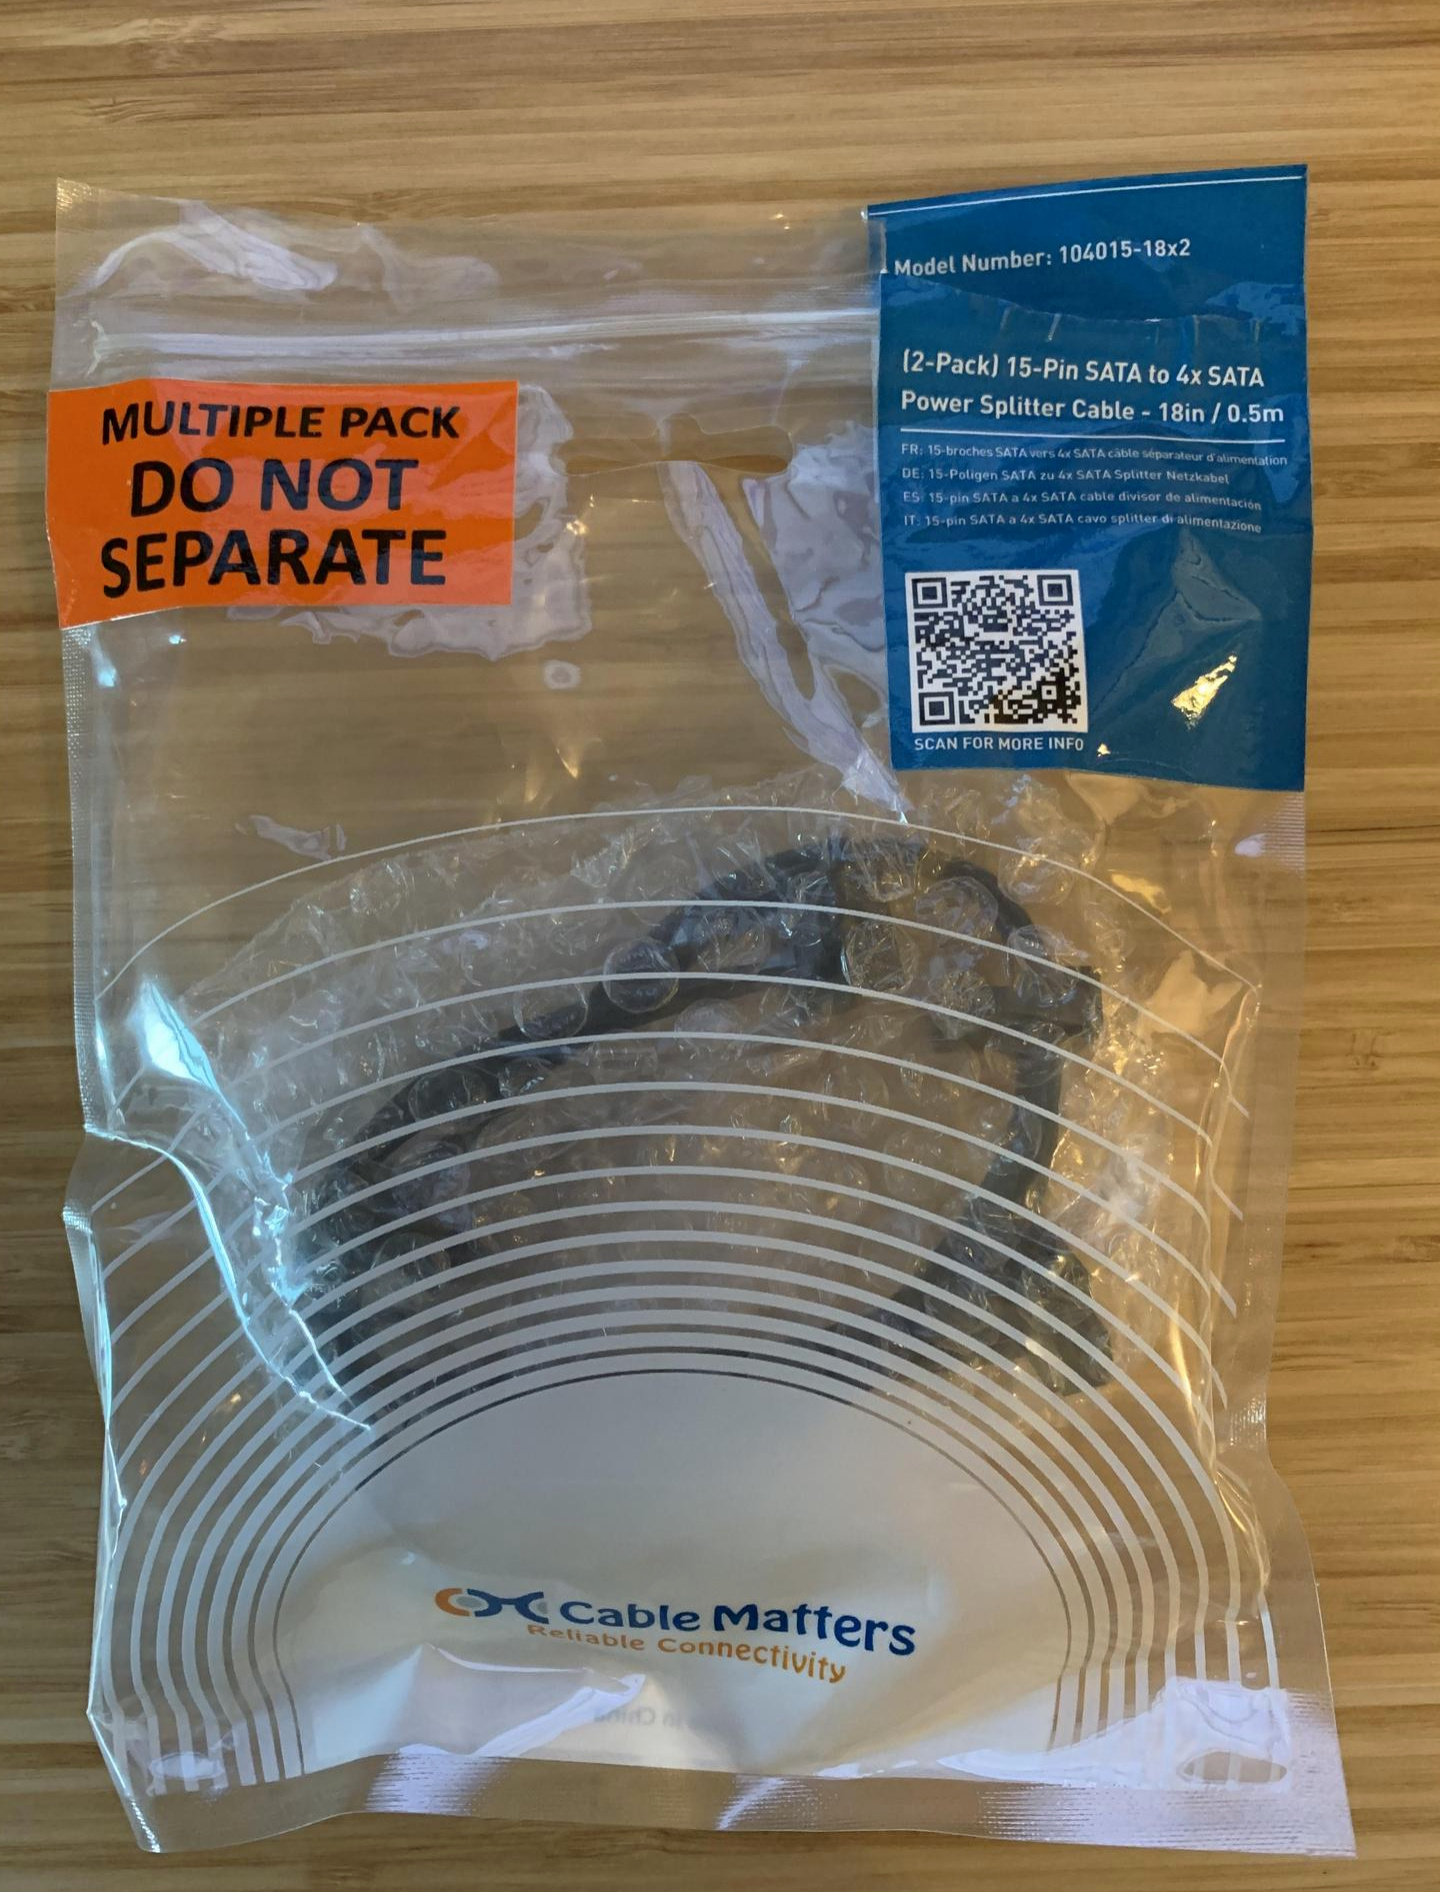
Unboxed for reference.

There are numerous ways to do this and the two prevailing methods involved either cutting the fifth cable at the extension head or taking off that fifth cable entirely. So what we’re going to do is to basically remove the 5th (3.3v power) cable, as that is my preferred method.

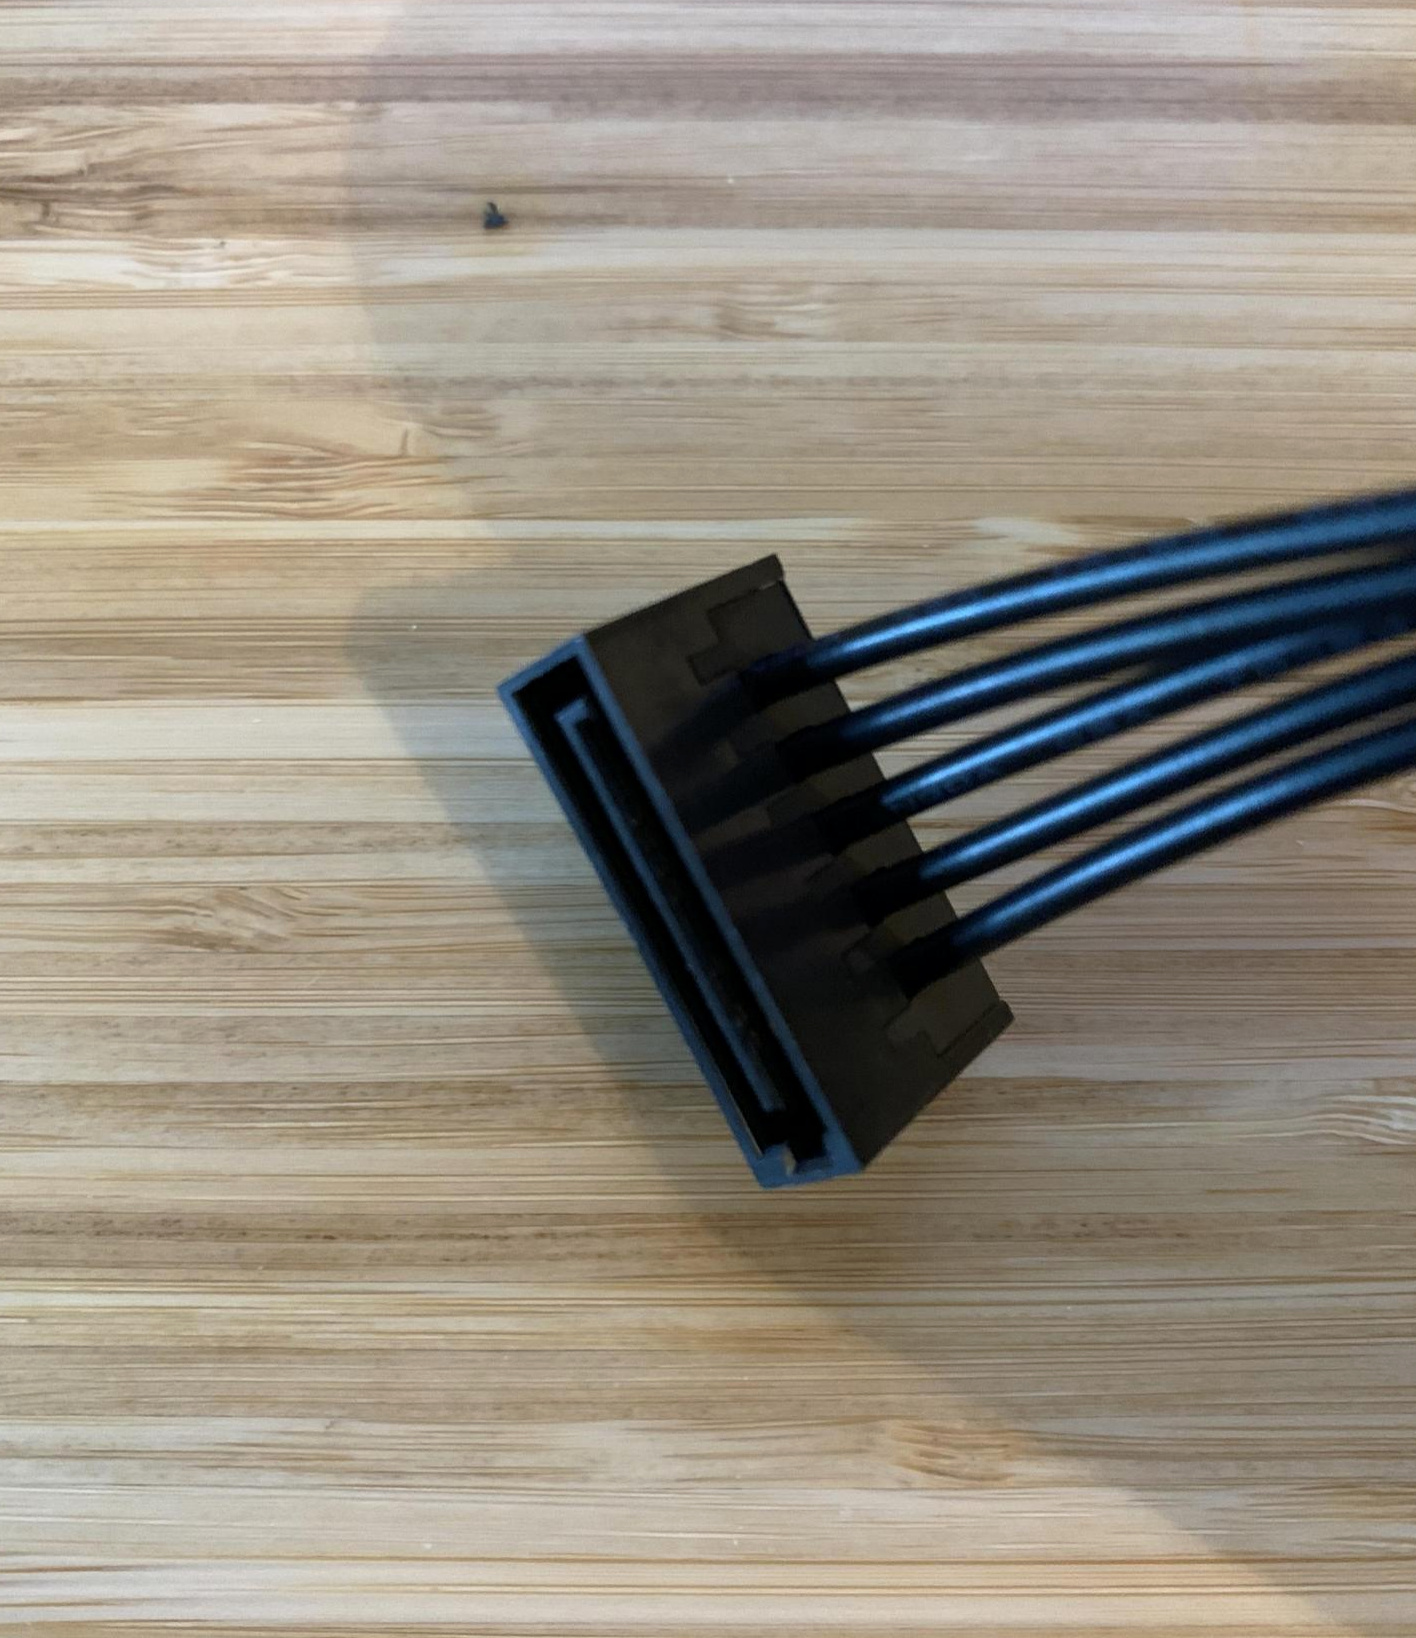
Above: Up close of what the cap looks like when removed. Notice the small lip. That is what you have to lift / pry off. Then the cap will pop off. When you take them off, just gently lift on side of the teeth and the back should pop off. You don’t need to apply much pressure. A small flathead screw driver, with a bit of leverage, works great

Above: The female port is the toughest. There are no clips. The two parts just need to be pulled apart. The first time I did this, I used a small flathead screwdriver and wedged it between the teeth and forced it apart. The second time, I used two needle nose pliers.
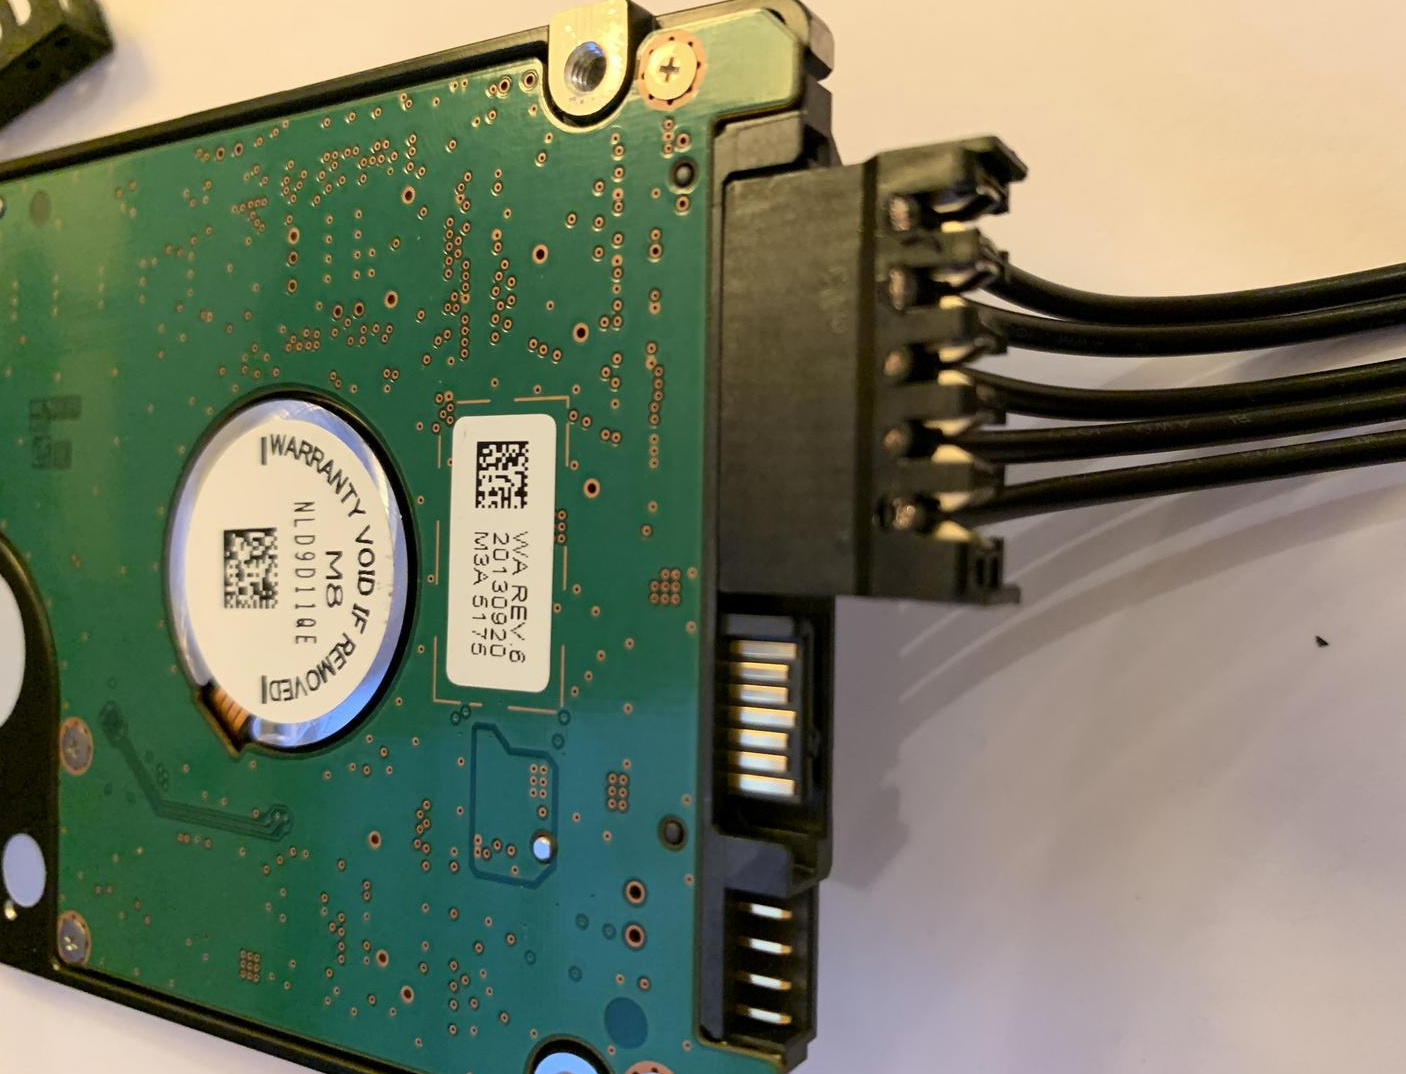

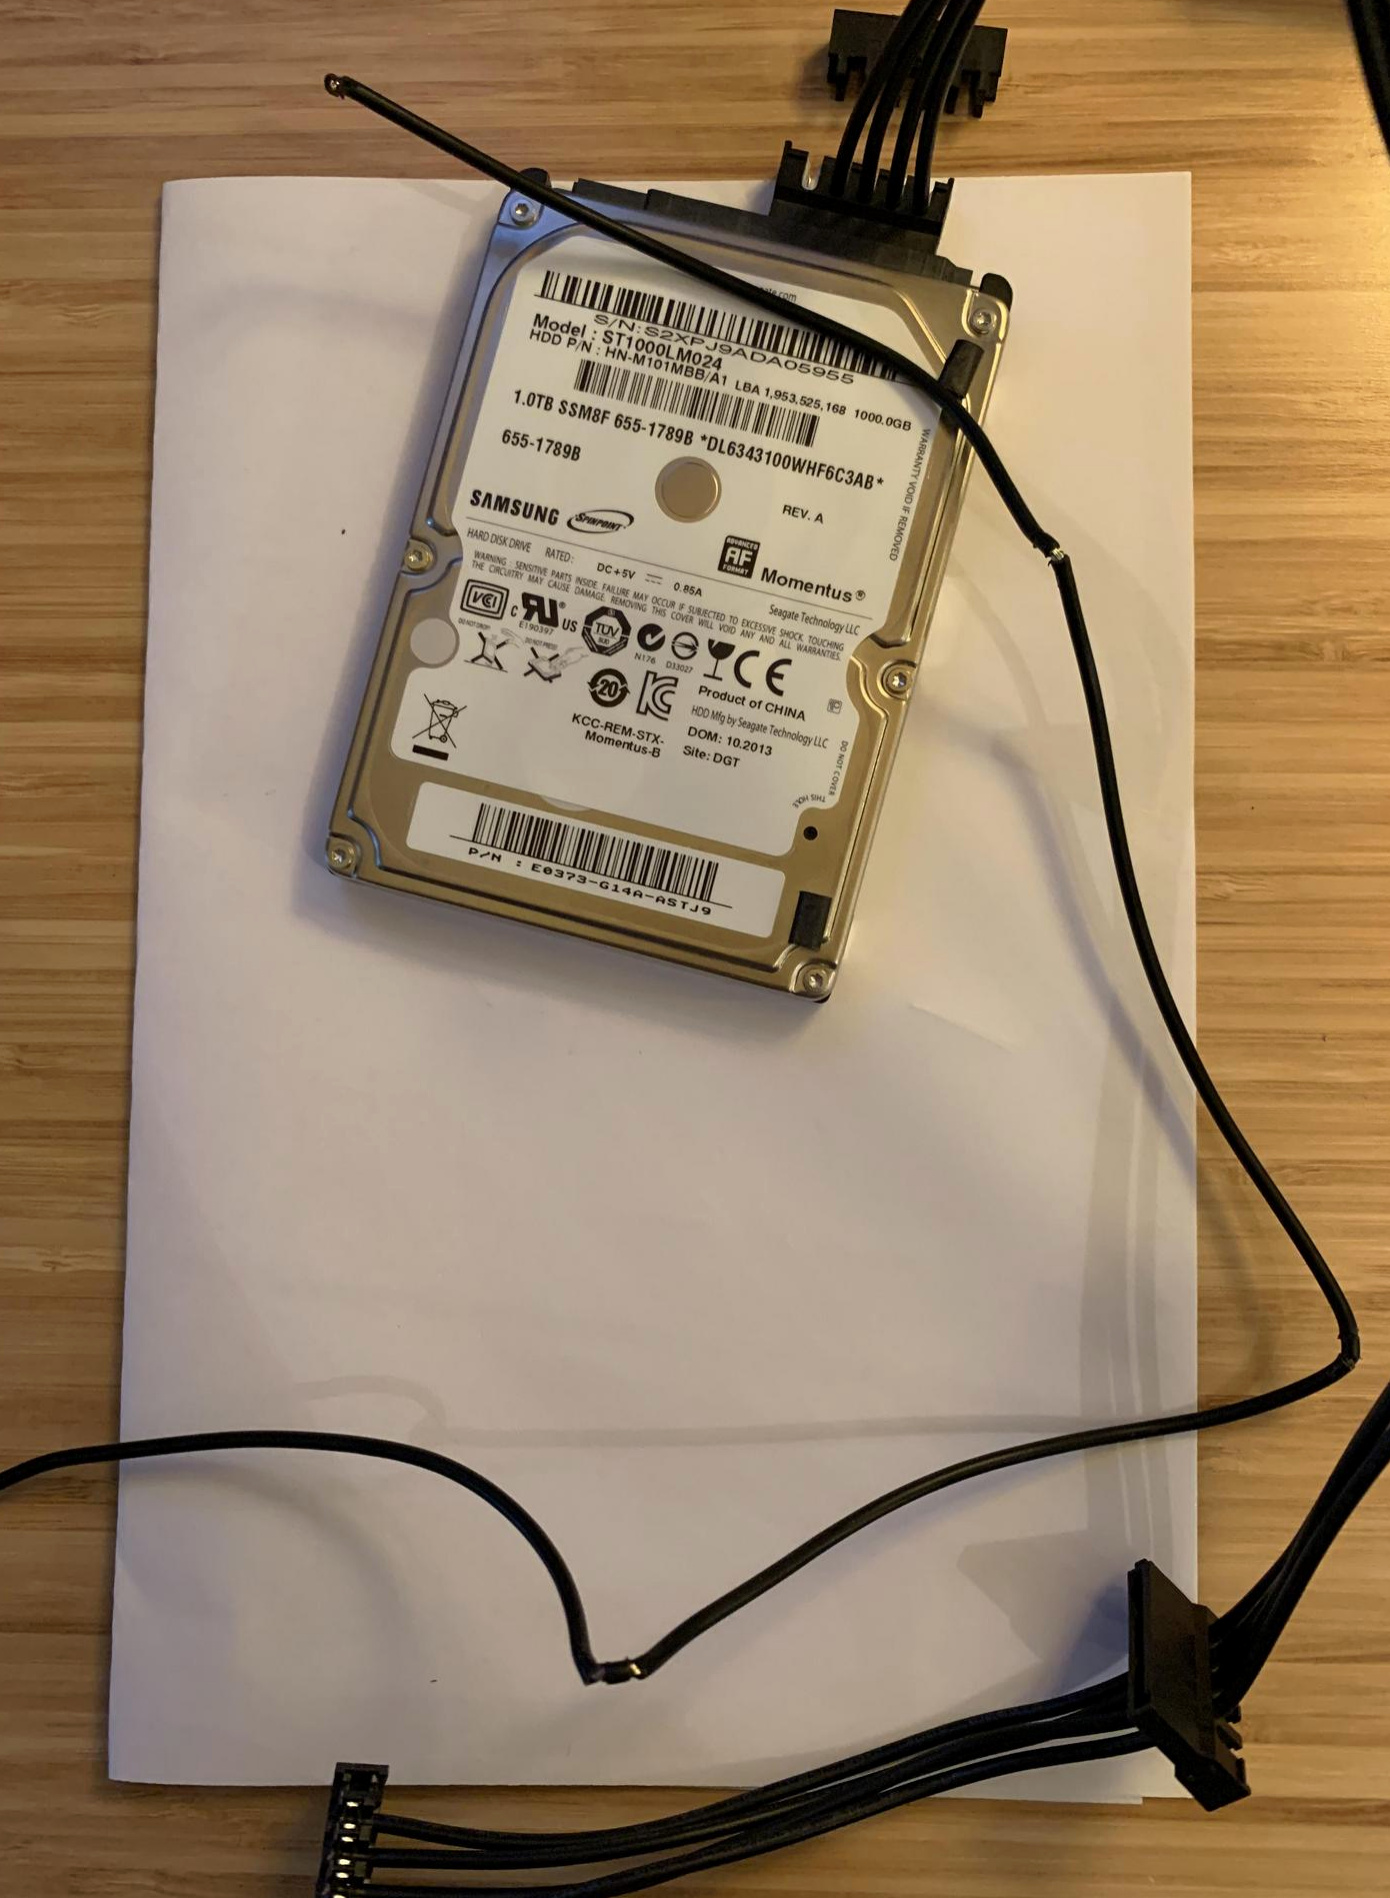
I found it helped to keep the SATA power cable plugged into a hard drive just so I knew what cable I wanted to remove (the leftmost cable, on the bottom in this image).
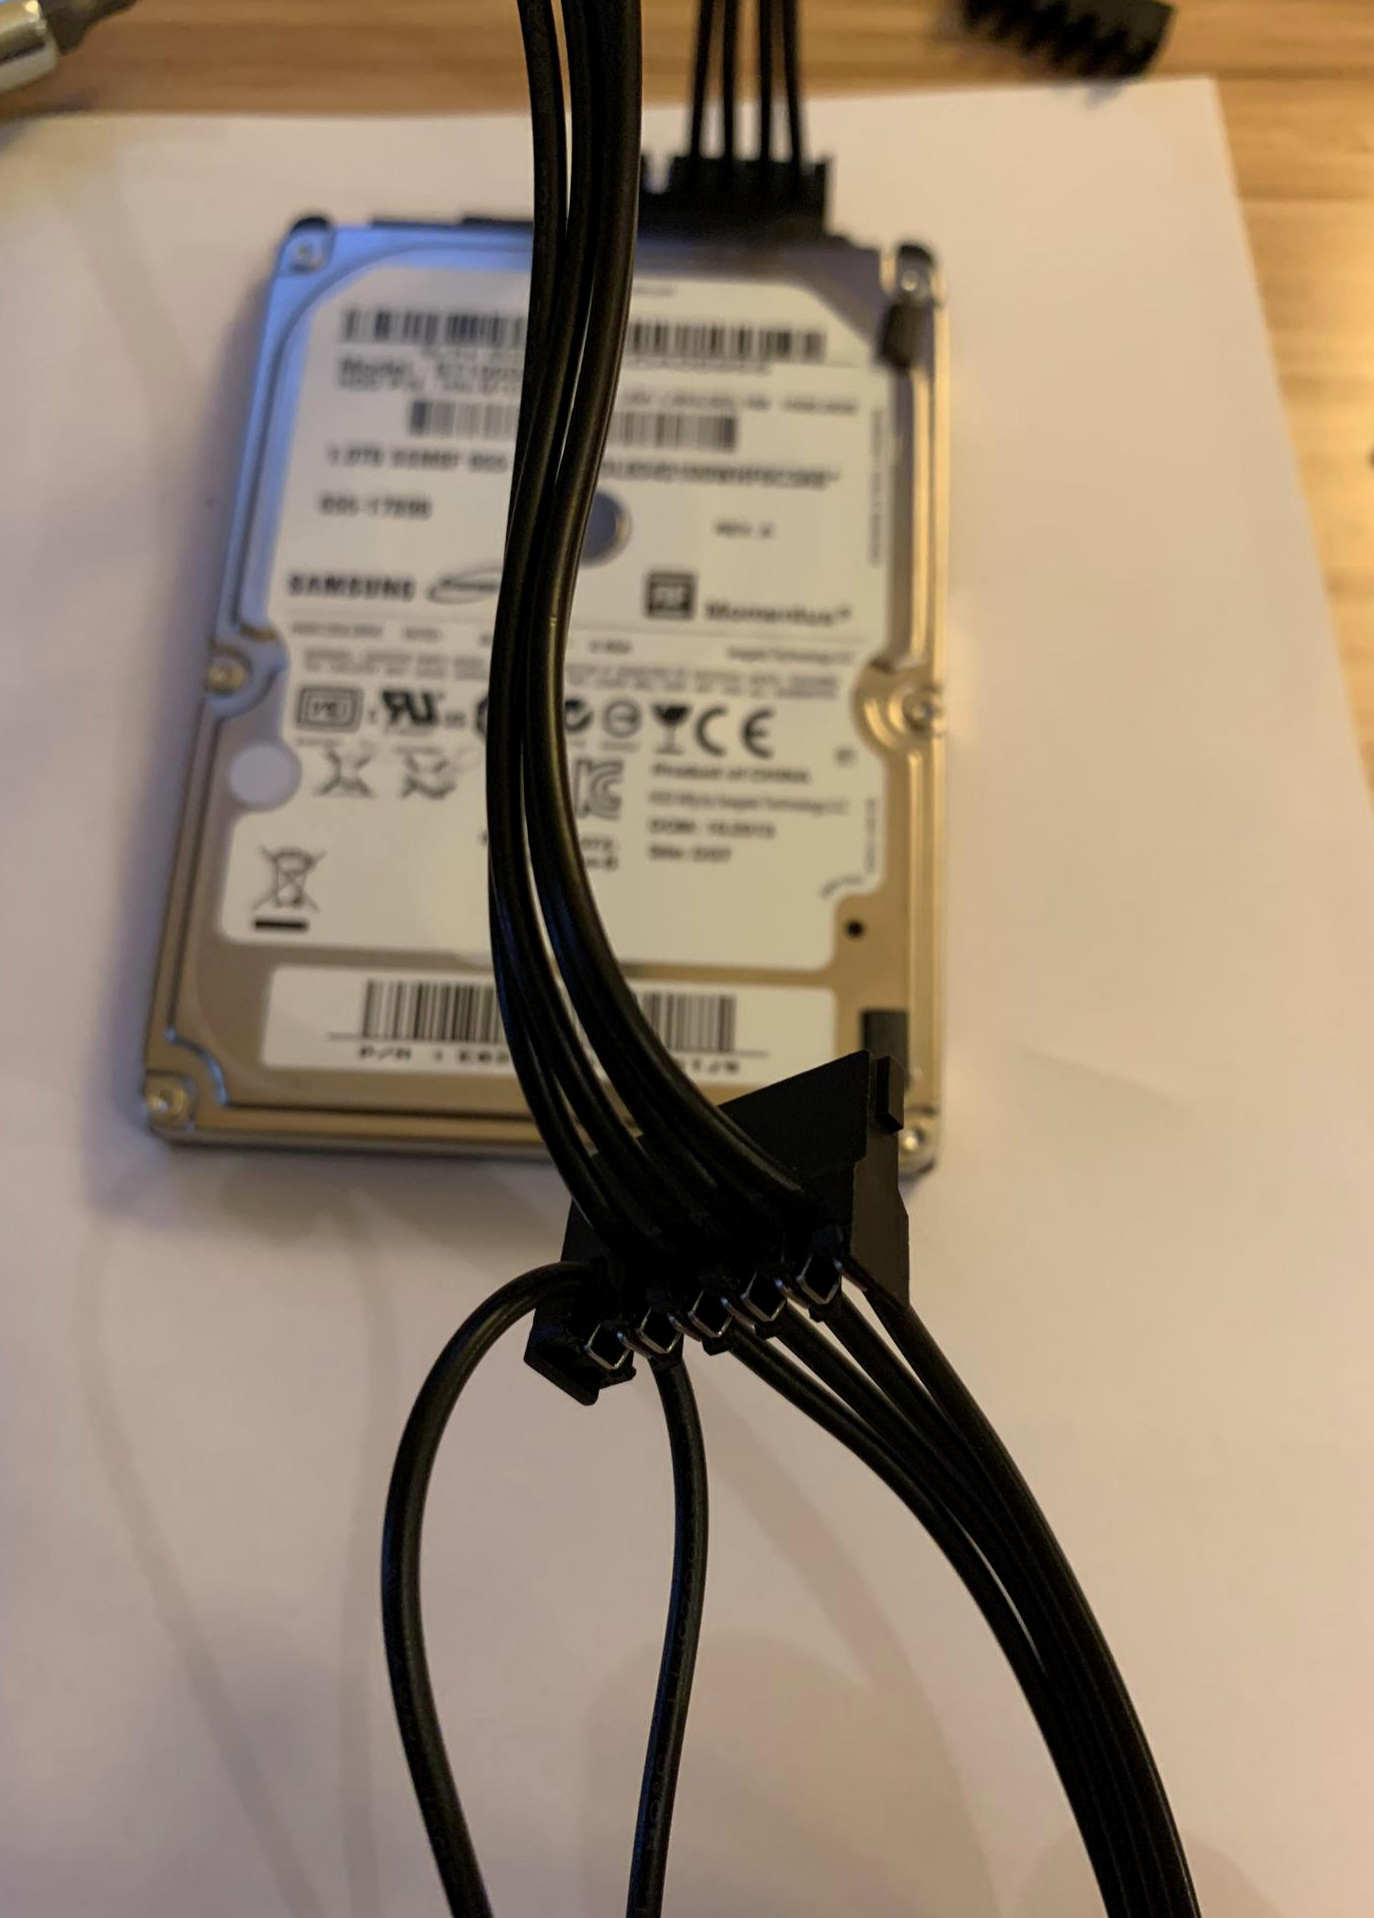
I found it easiest to bound the cable and pinch it out. Be gentle, take your time.
And you’re done.
All images can be found at:
https://imgur.com/a/TtVYiE4