Putting this together was fun. My goal was to upgrade from an HP290 small desktop computer to a rack mounted router. I looked at 1U chassis and ultimately went with a 2U to have more room, not have to use risers, and get away with using more standard parts (and an ATX PSU). 2U, rack mounted, and whisper quiet. I am also going to be upgrading to Google Fiber’s 5Gbps symmetrical when they roll it out here (soon) and wanted to find a chassis that supported better airflow for 10Gb network cards. The HP290 was small and had almost no airflow or rooms for additional fans. In addition, I wanted to use this as a chance to run a mirrored installation of my router OS and try out OPNSense. So quite a few goals. Here’s how I navigated them:
| Item | Price | Sourced From |
|---|---|---|
| 2U Rack Chassis | $100 Shipped | Amazon his this one |
| TUF GAMING B460M-PLUS | $60 | Ebay |
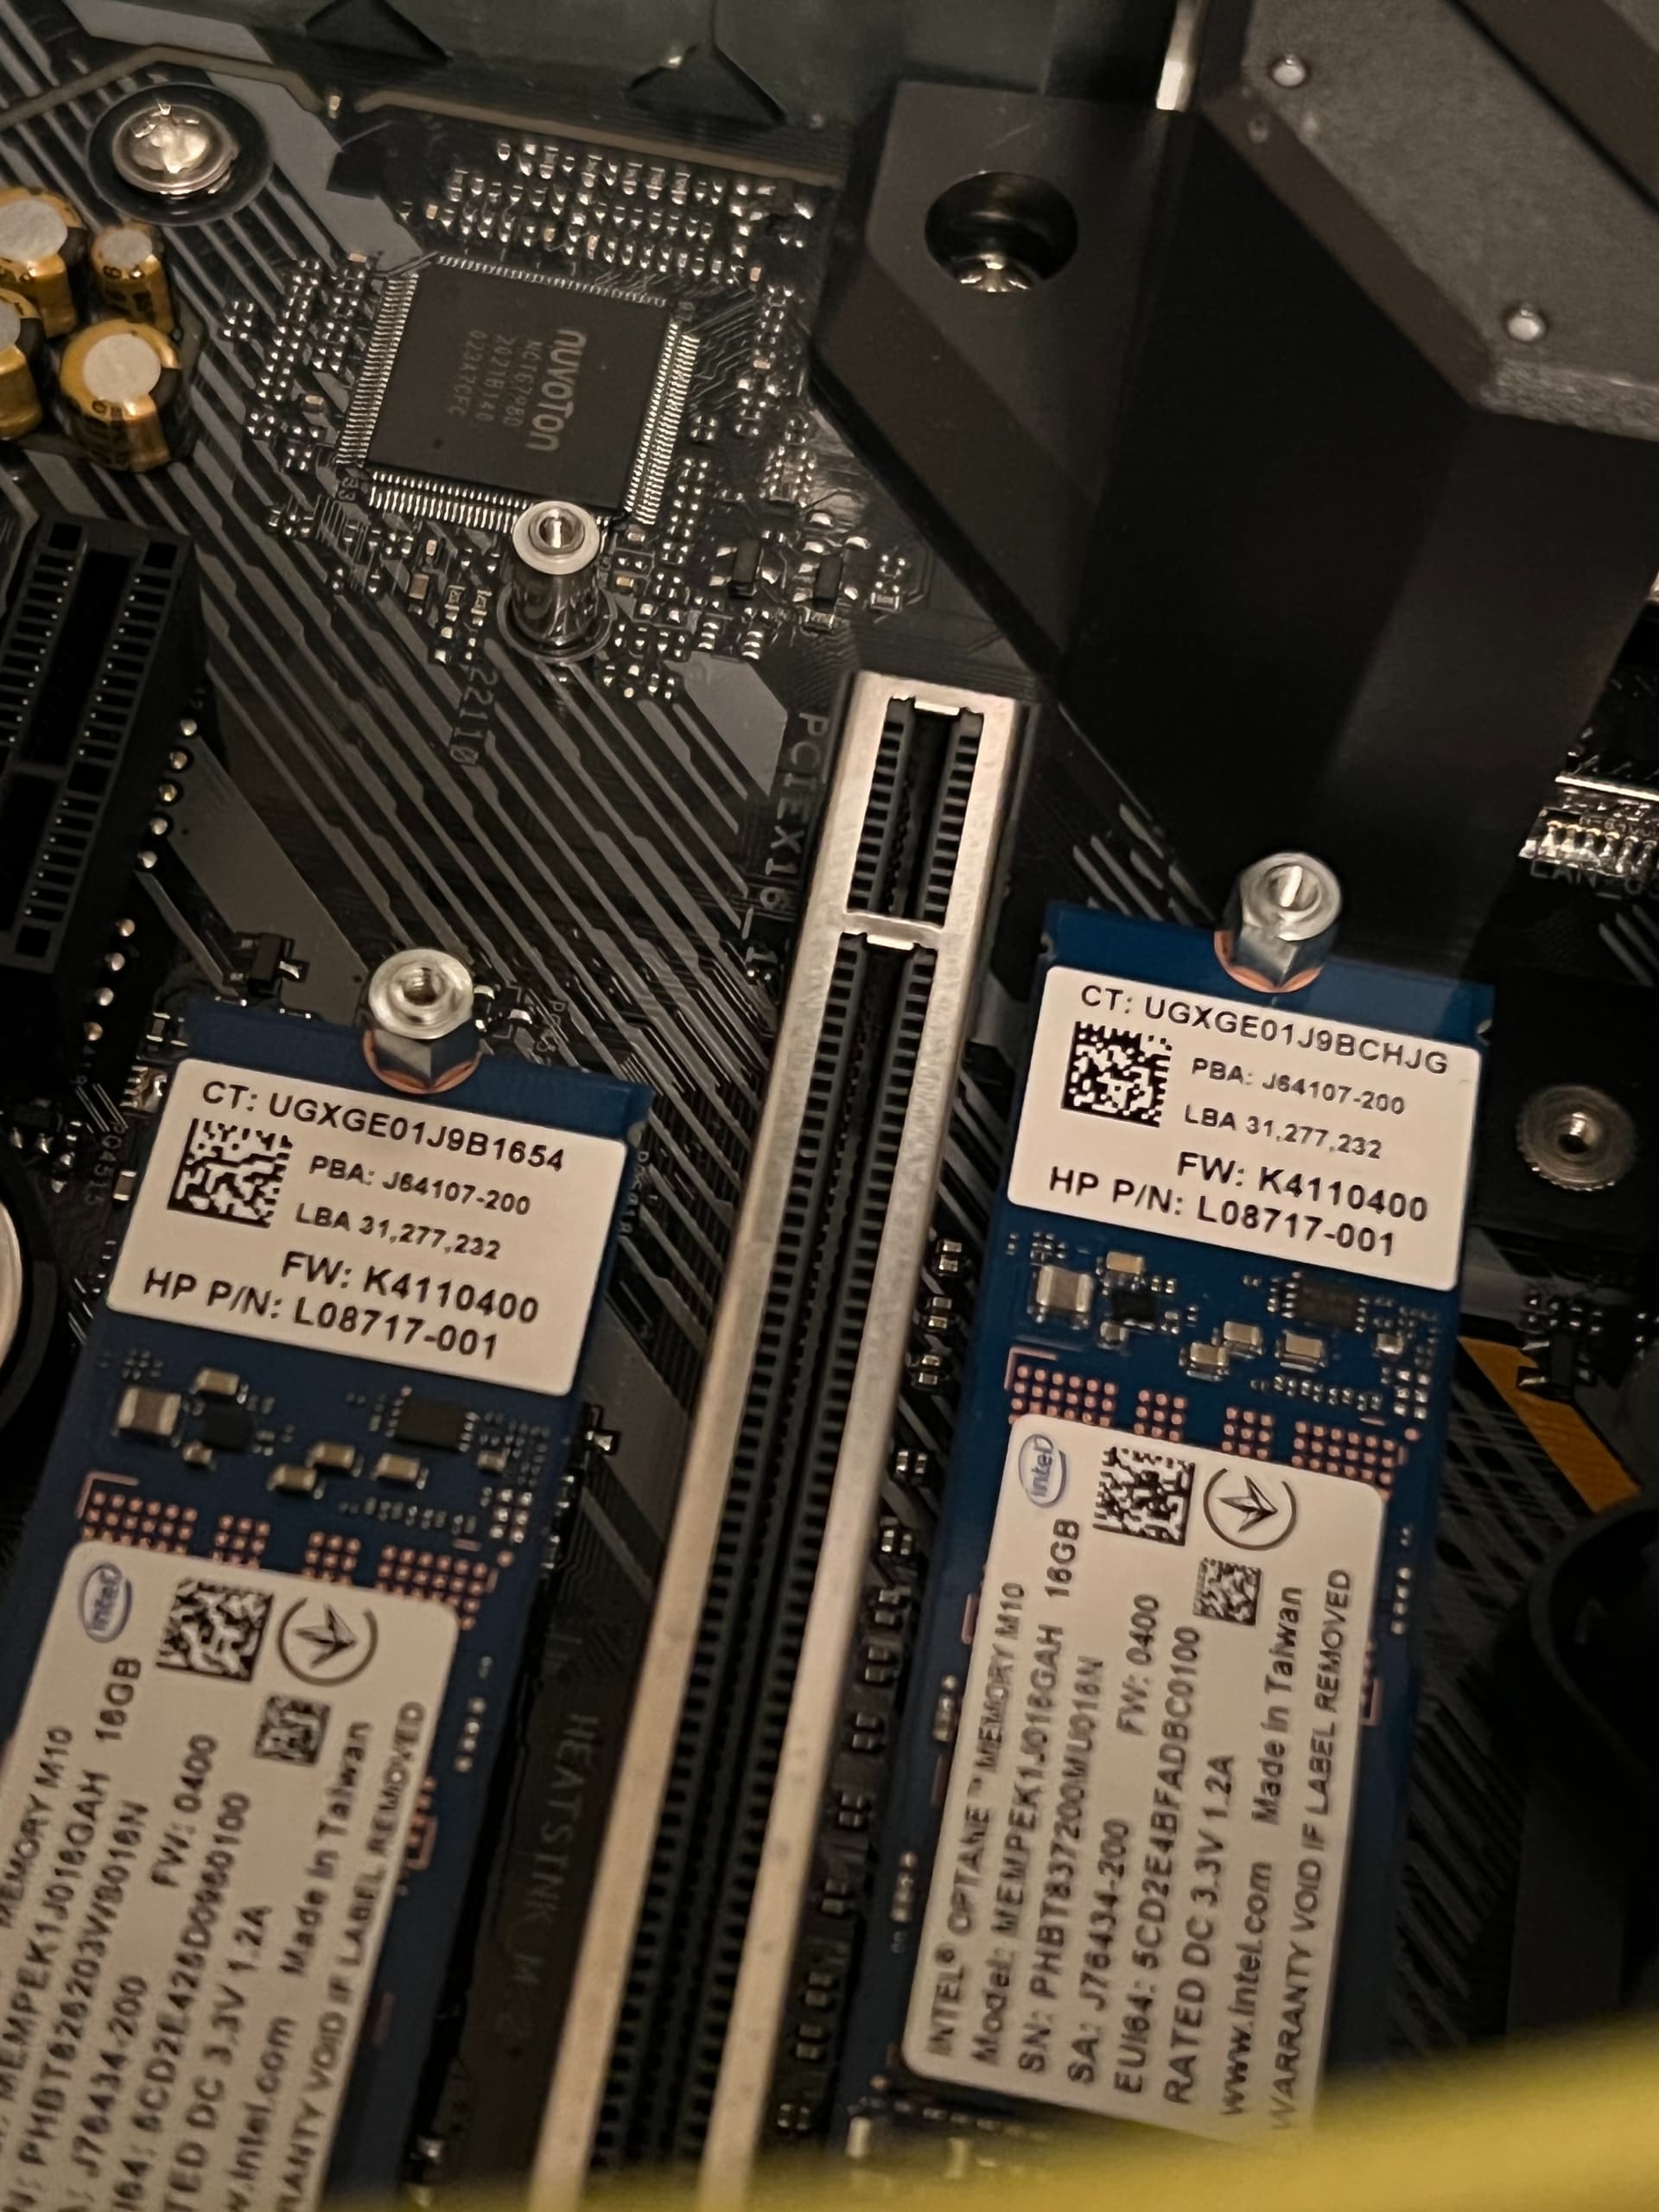
| 2x 16GB Optane drives | $15 Shipped | Ebay |
| Intel Celeron G5900 | $24 | Amazon |
| Dell Power Supply D275EM-00 ~ 80Plus Gold | $16.5 Shipped | eBay |
| Power Supply Extension Cables | $15 Shipped | Amazon |
| 8GB DDR4 | $18 | Amazon |
Some notes
- I had a 2-port Intel NIC ($10 kind) that I reused from my existing build. When I upgrade my ISP beyond 1Gbps, I will most likely be using an X520-DA2 ($40 off eBay shipped).
- I think 4GB is sufficient but I had an 8GB stick (same one I linked to in the table)
- I ended up finding an i3-10100 on Facebook for $60 so I returned the lower core count and swapped. The extra $35 I felt was worth it given I will be going with symmetrical 5Gbps Fiber soon here from 1Gbps and think 2 cores may be a bit low.
Build Log
All in all, I think this went pretty smooth. Buying some of these parts used relied more on my surplus of screws and cables. The chassis did not come with enough screws from the Reddit seller. But that was OK. Particularly, I ended up having to pick up some m2 screws for a few bucks. Probably a handy thing. I needed 2 standoffs and 2 small screws for the dual optane setup.
One of the other hiccups was the Dell Vosotro power cable lengths… they were not long enough. I think my chassis suffers from having the PSU on the opposite side of where some of these consumer gaming motherboards have their power hookups. I believe they, the gaming boards, expect the PSU to be closer to the power ports. This 2U chassis wasn’t friendly to that and I measured needing around 14-16" from the left of the chassis to the 4/8-pin power, for example. $15 and a set of adapters later, we were good. I did verify that my retail consumer ATX power supply was just short of reaching across the 2U chassis so if you’re going for a build like this I would pick up some extension cables to be safe.

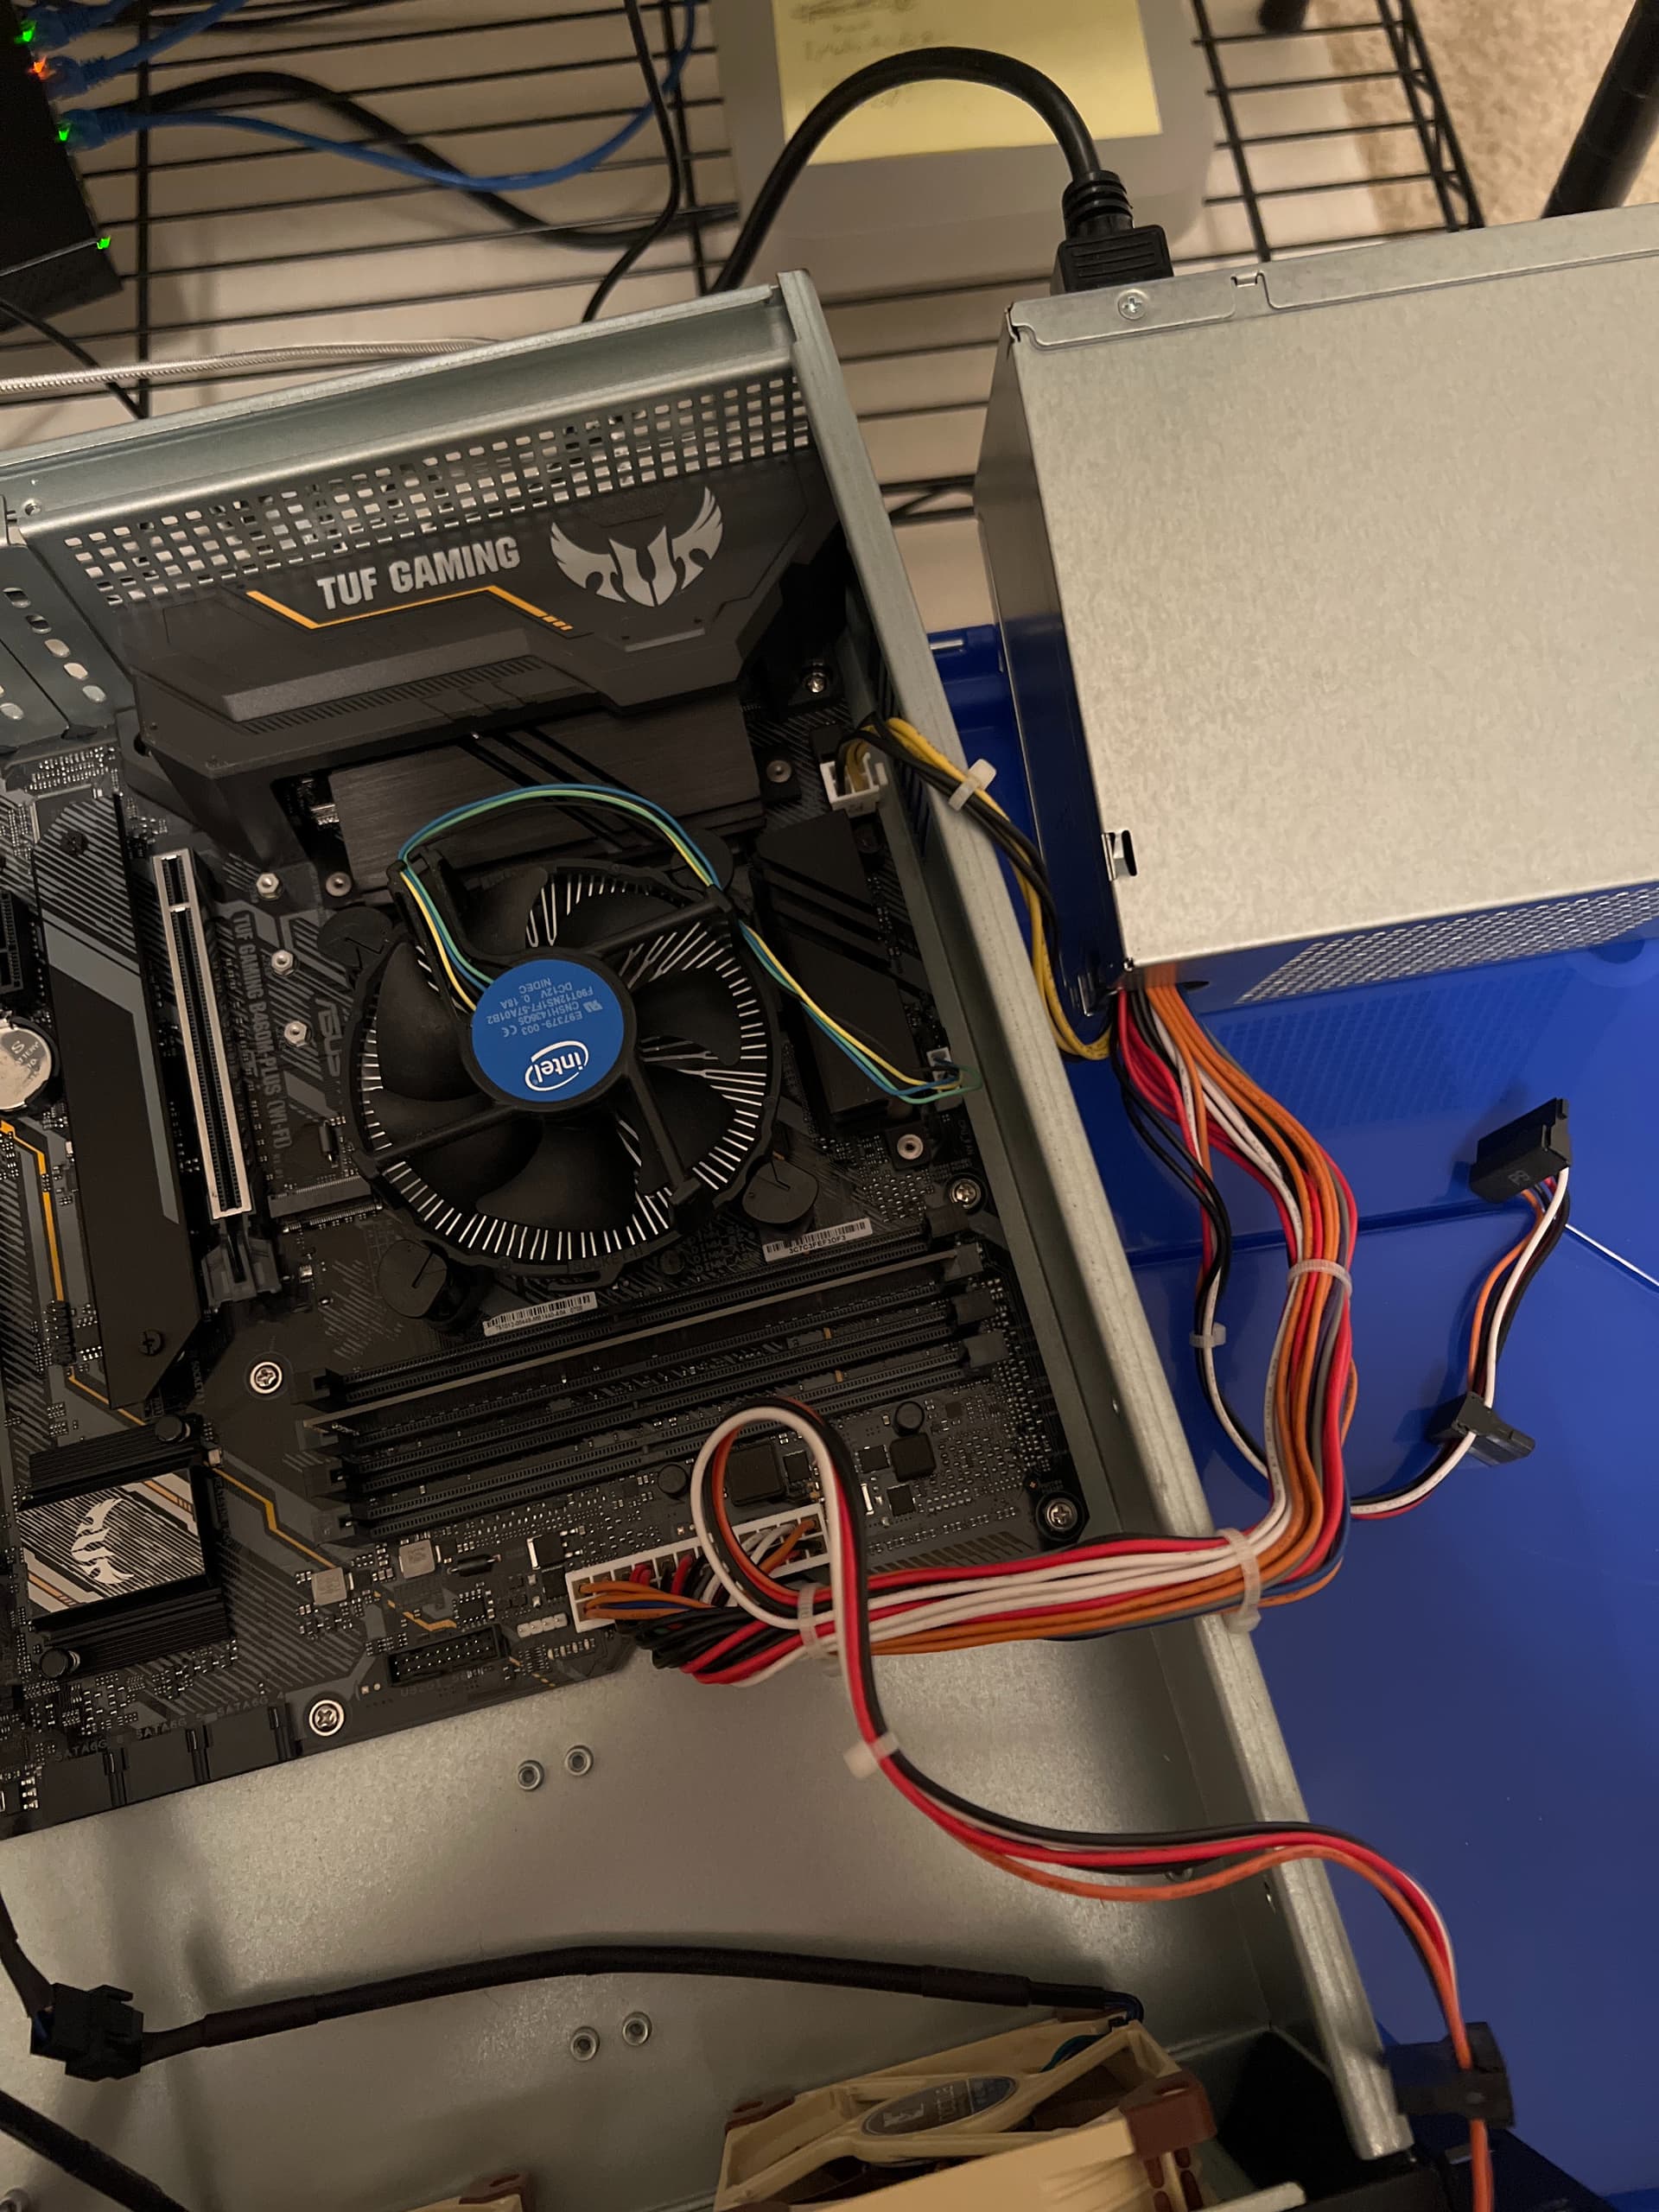
I still managed to build most of the system while waiting on extension cables. Everything went together pretty nicely.

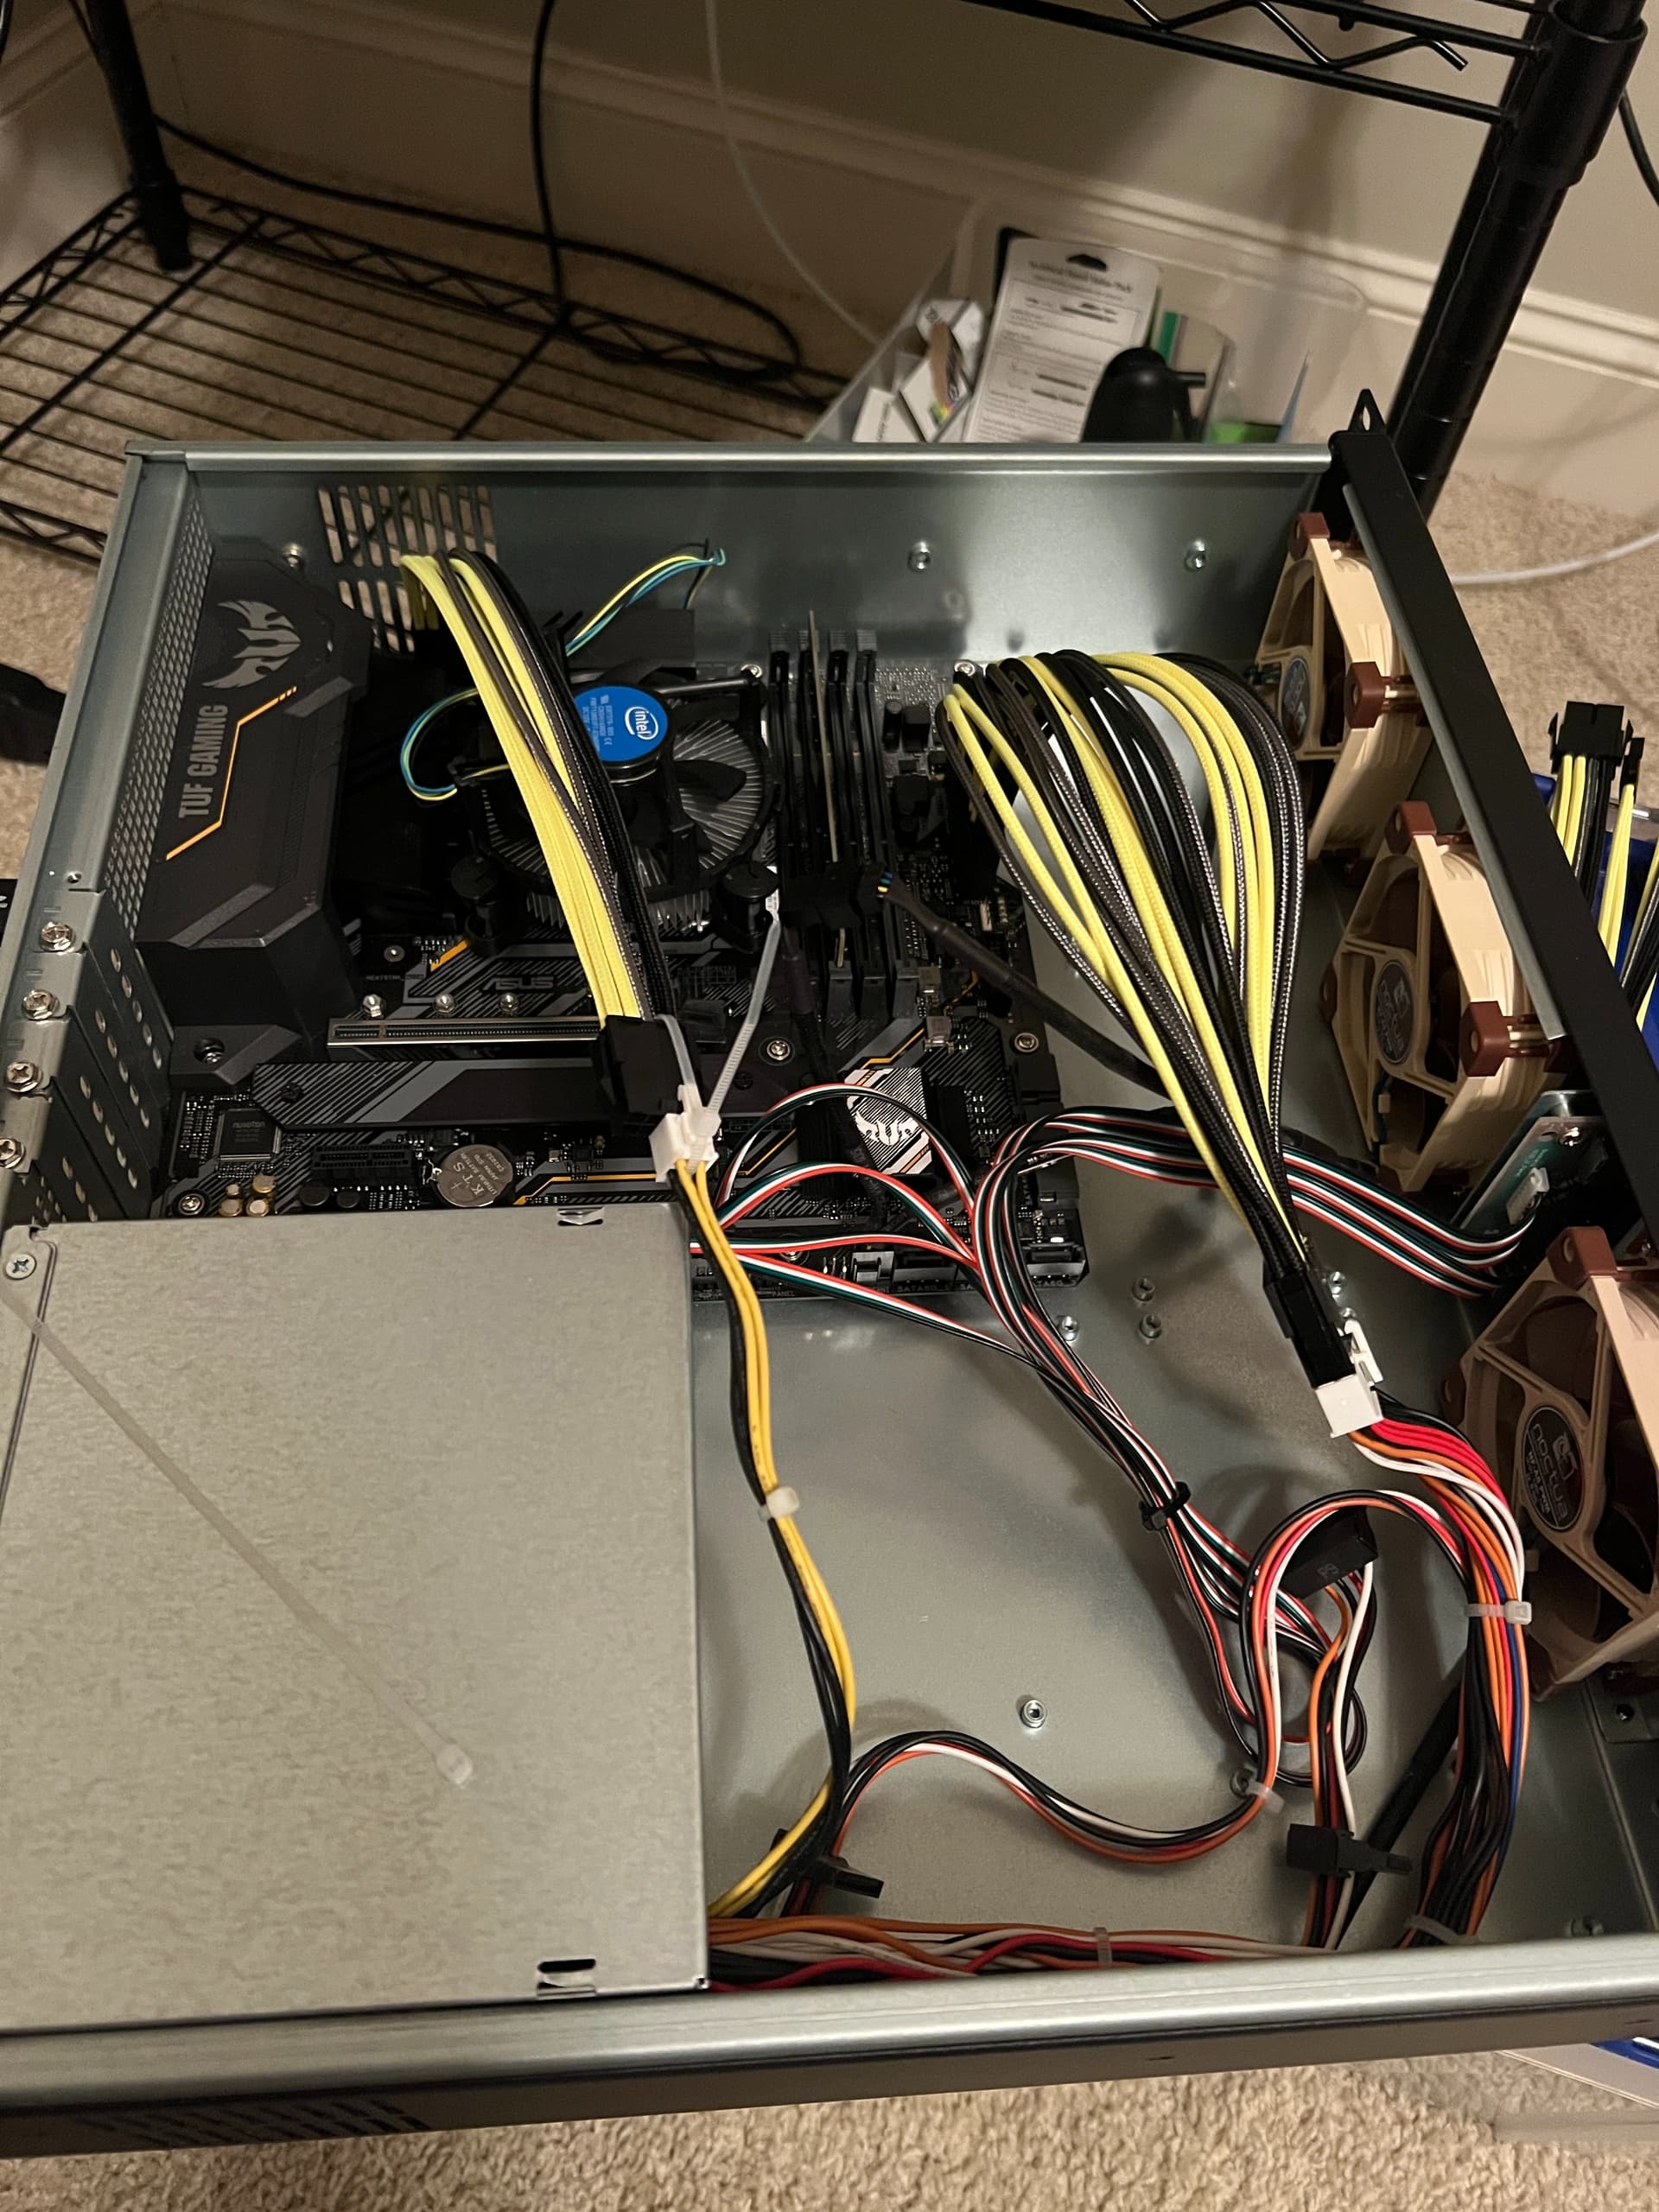
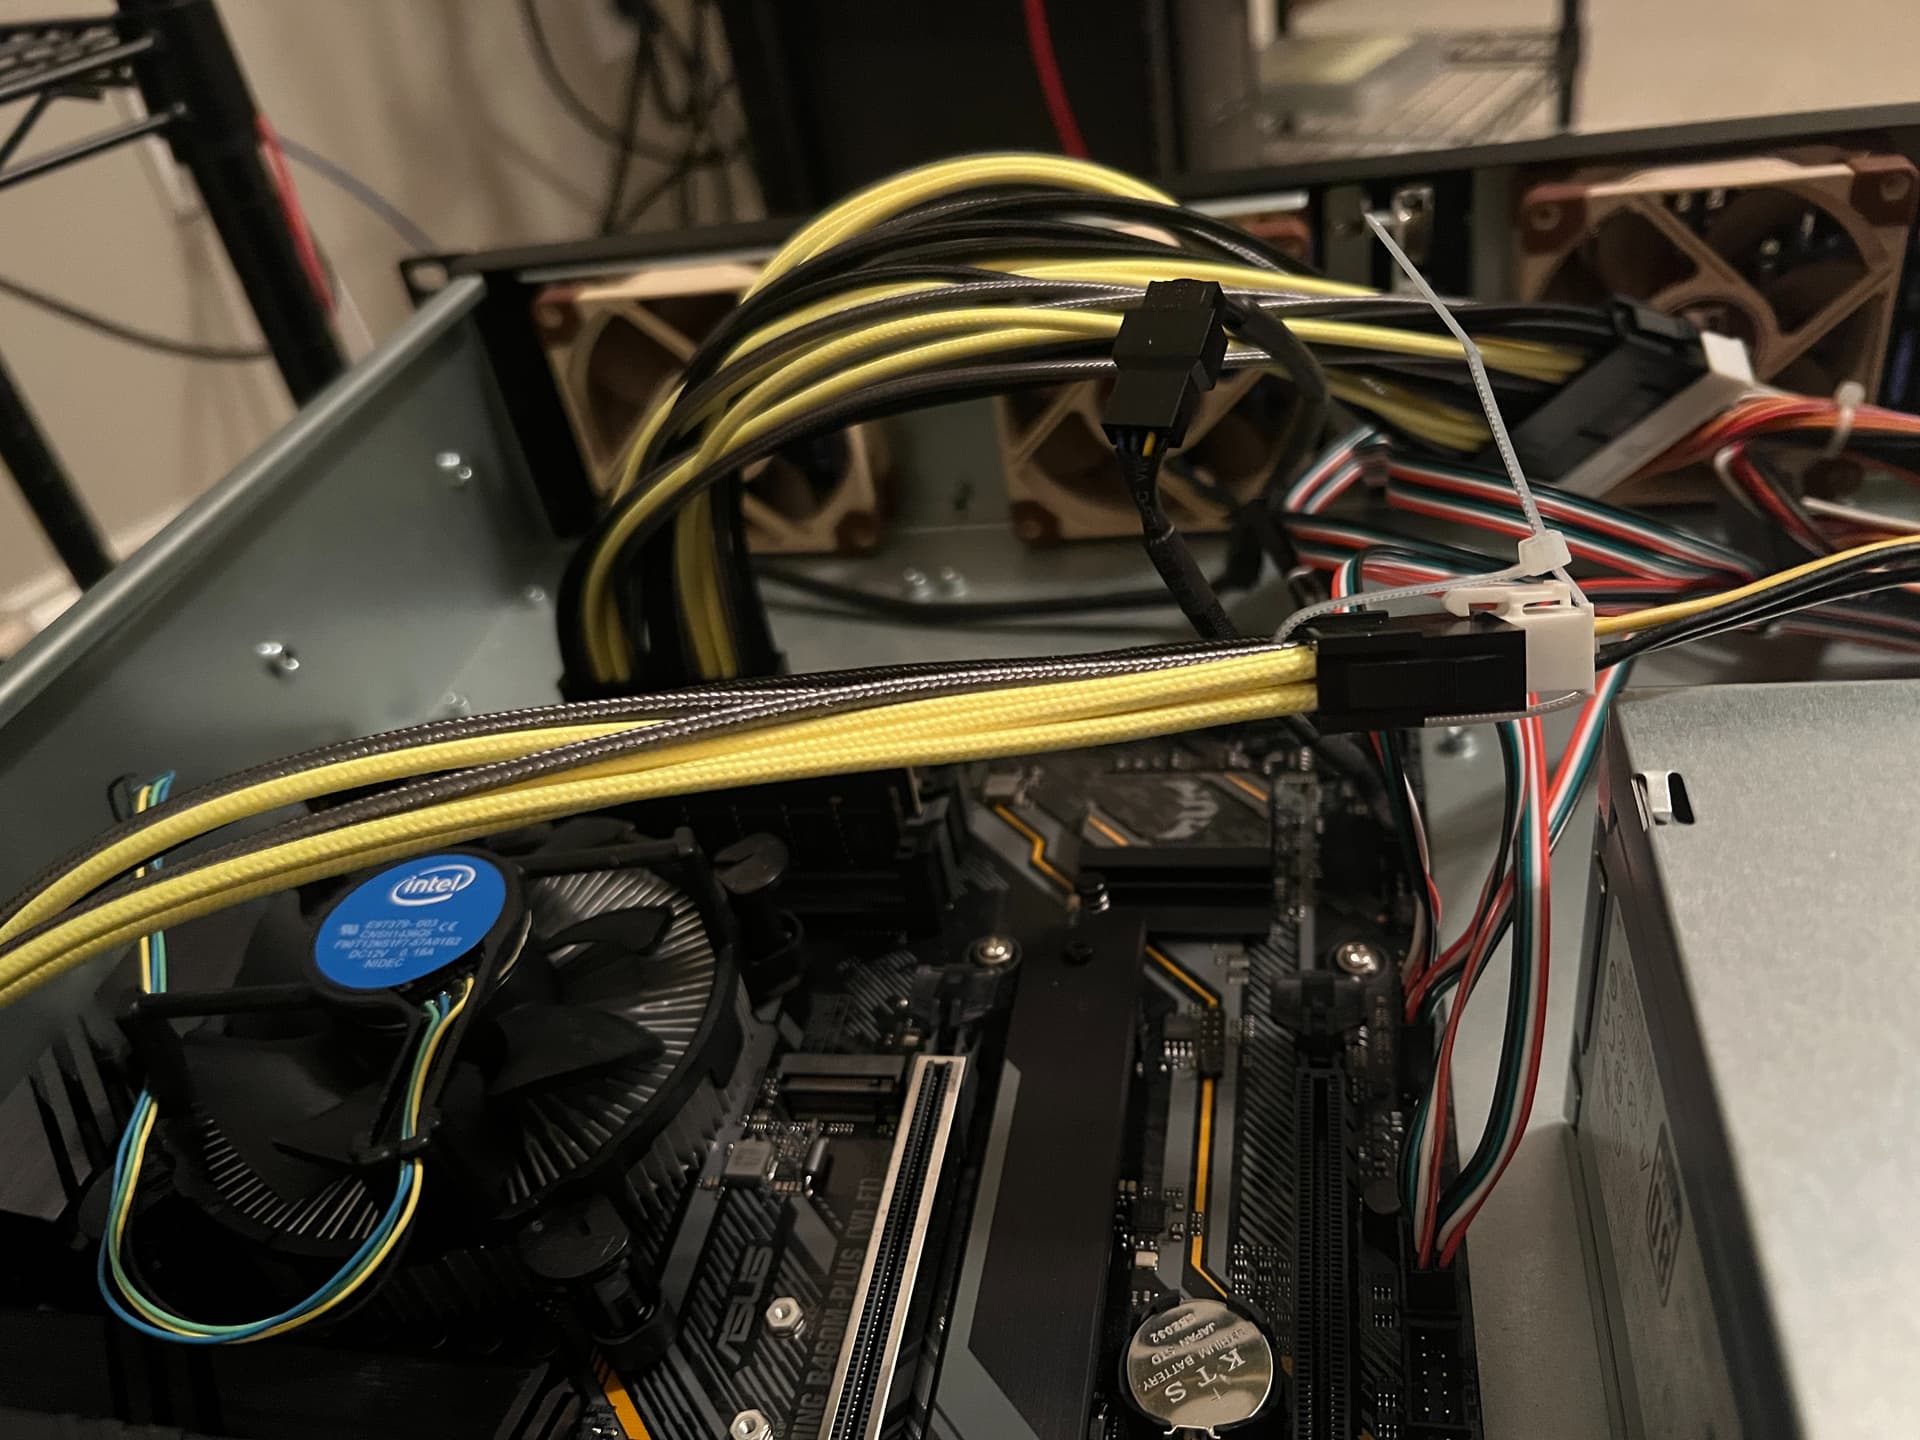
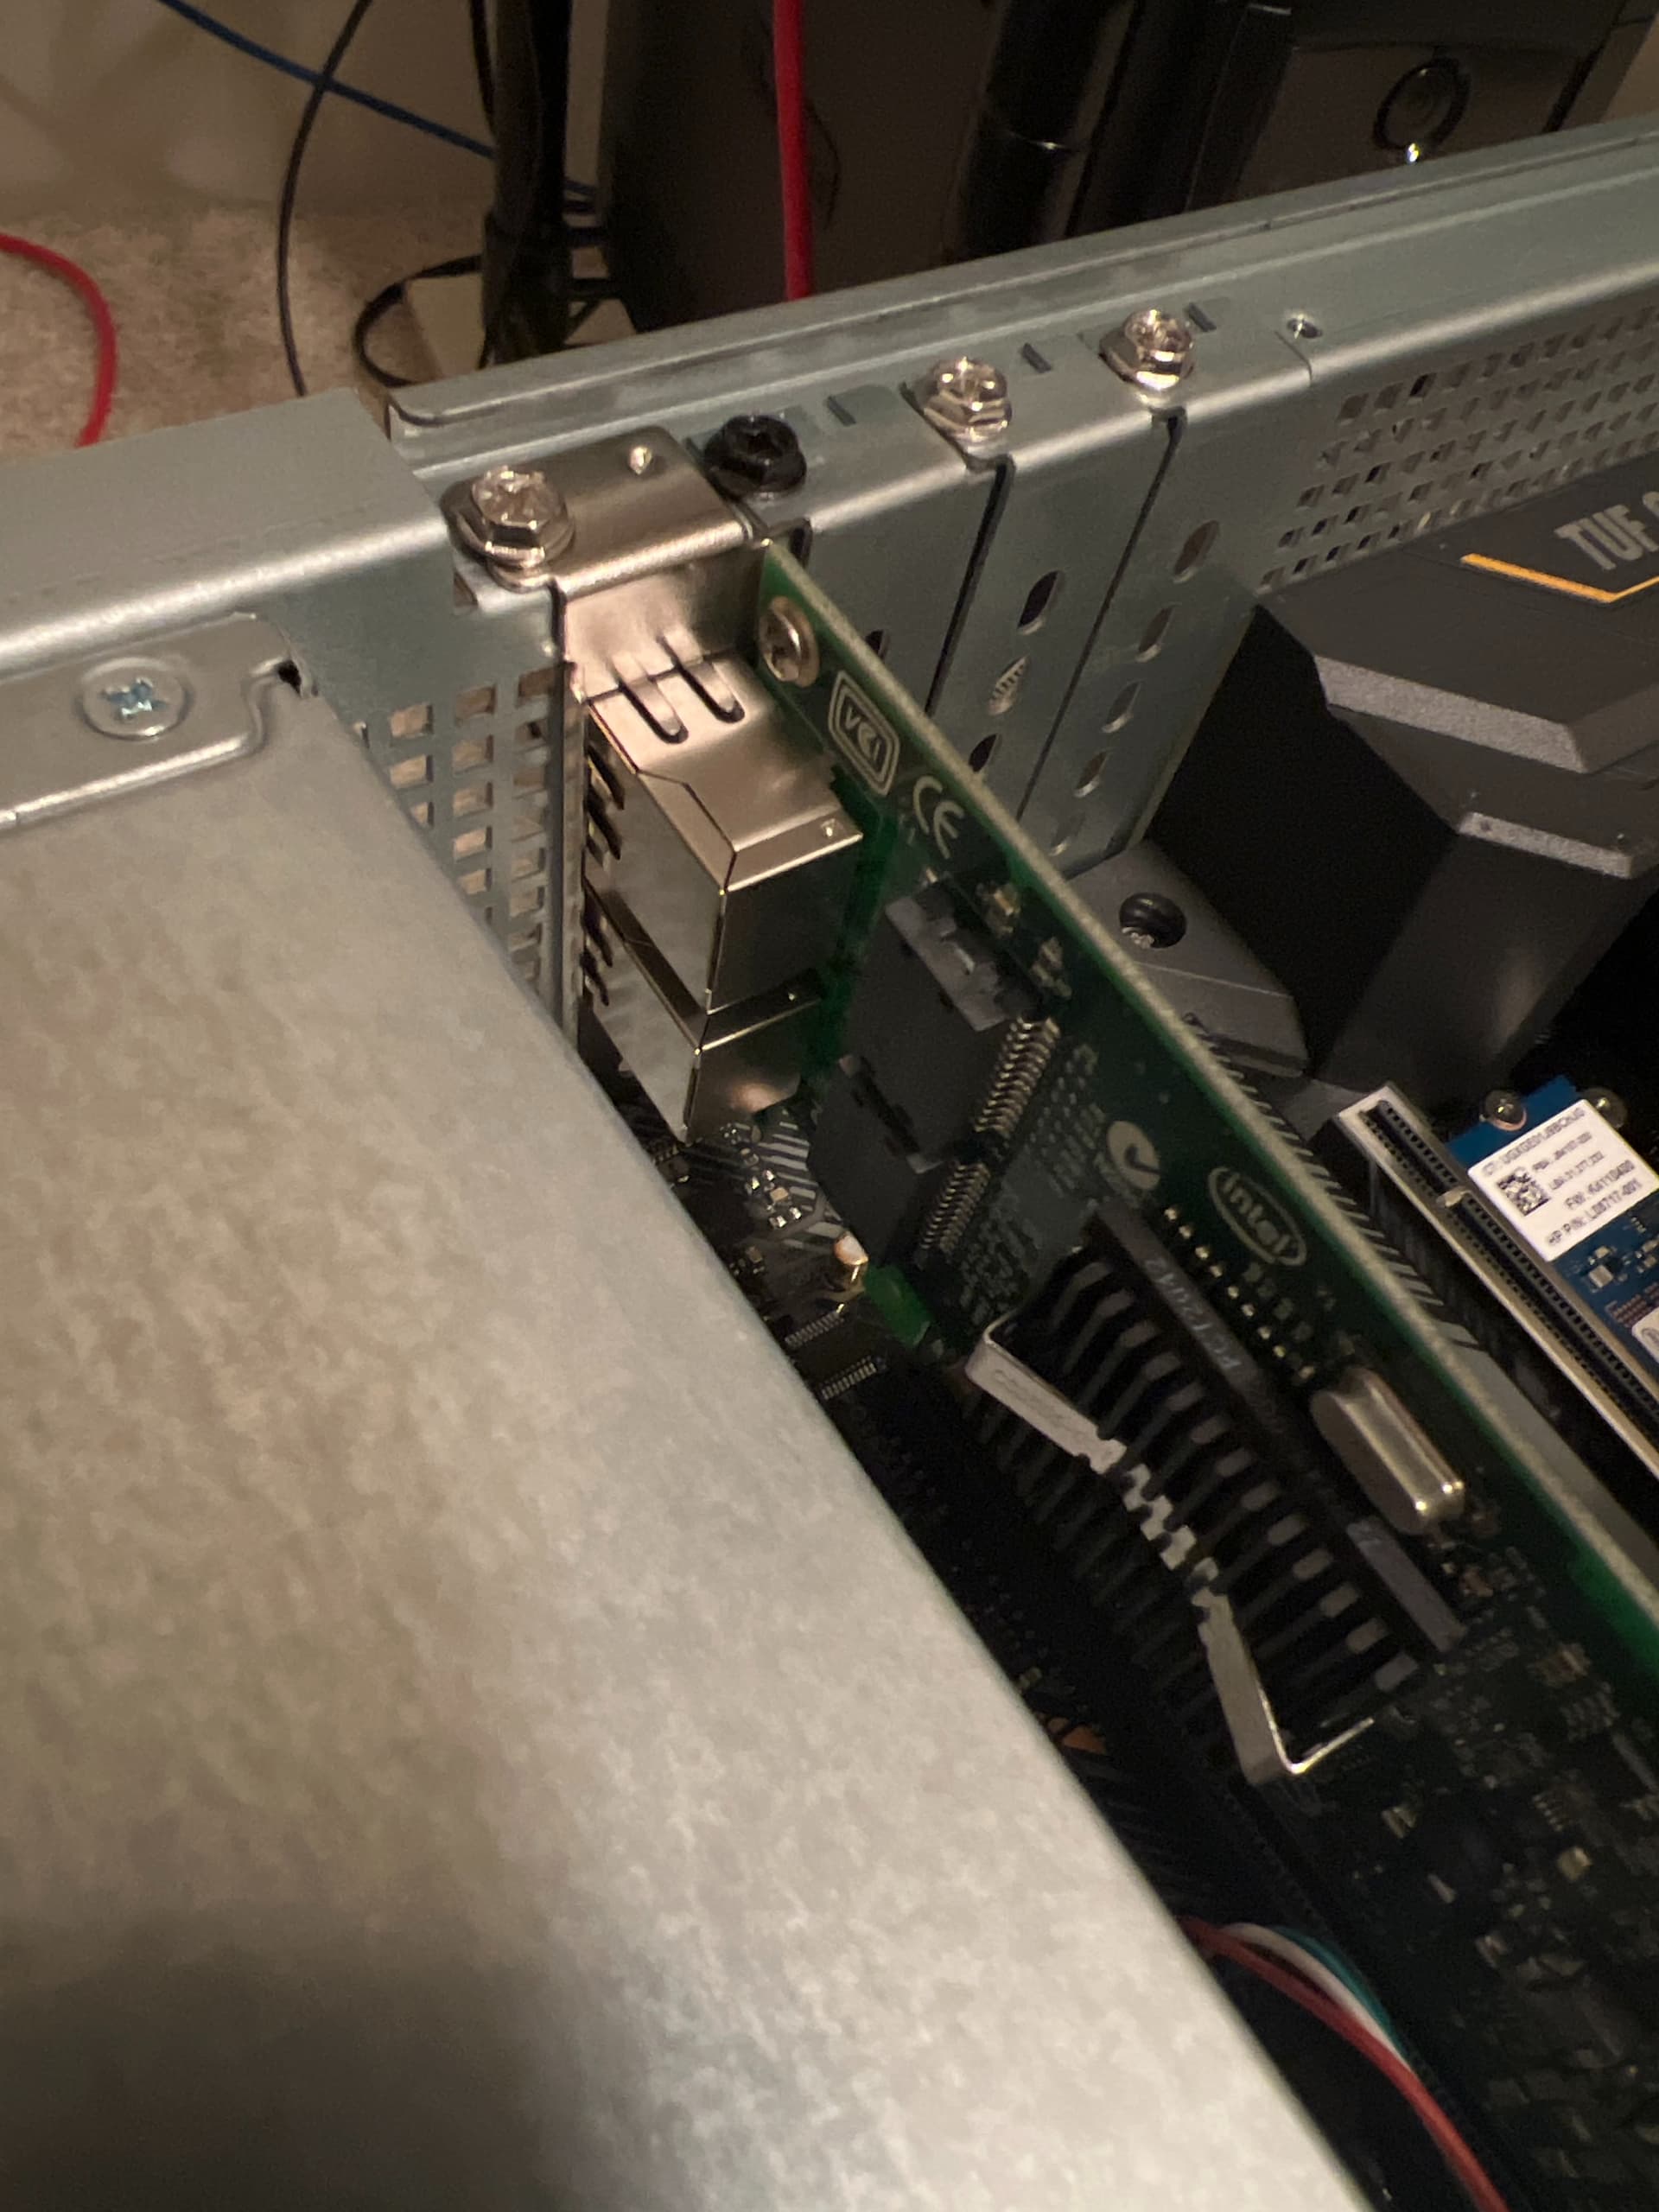
The extension cables I used were a bit stiff. In this picture, you can see they hang above the chassis topline. I was able to massage them down, though.
At first, I did not have the small screws and I learned that these little nvme/m2 spacers can screw into each other. Ha. So while I waited on the pack from Amazon, I set everything up by piggybacking two spacers.
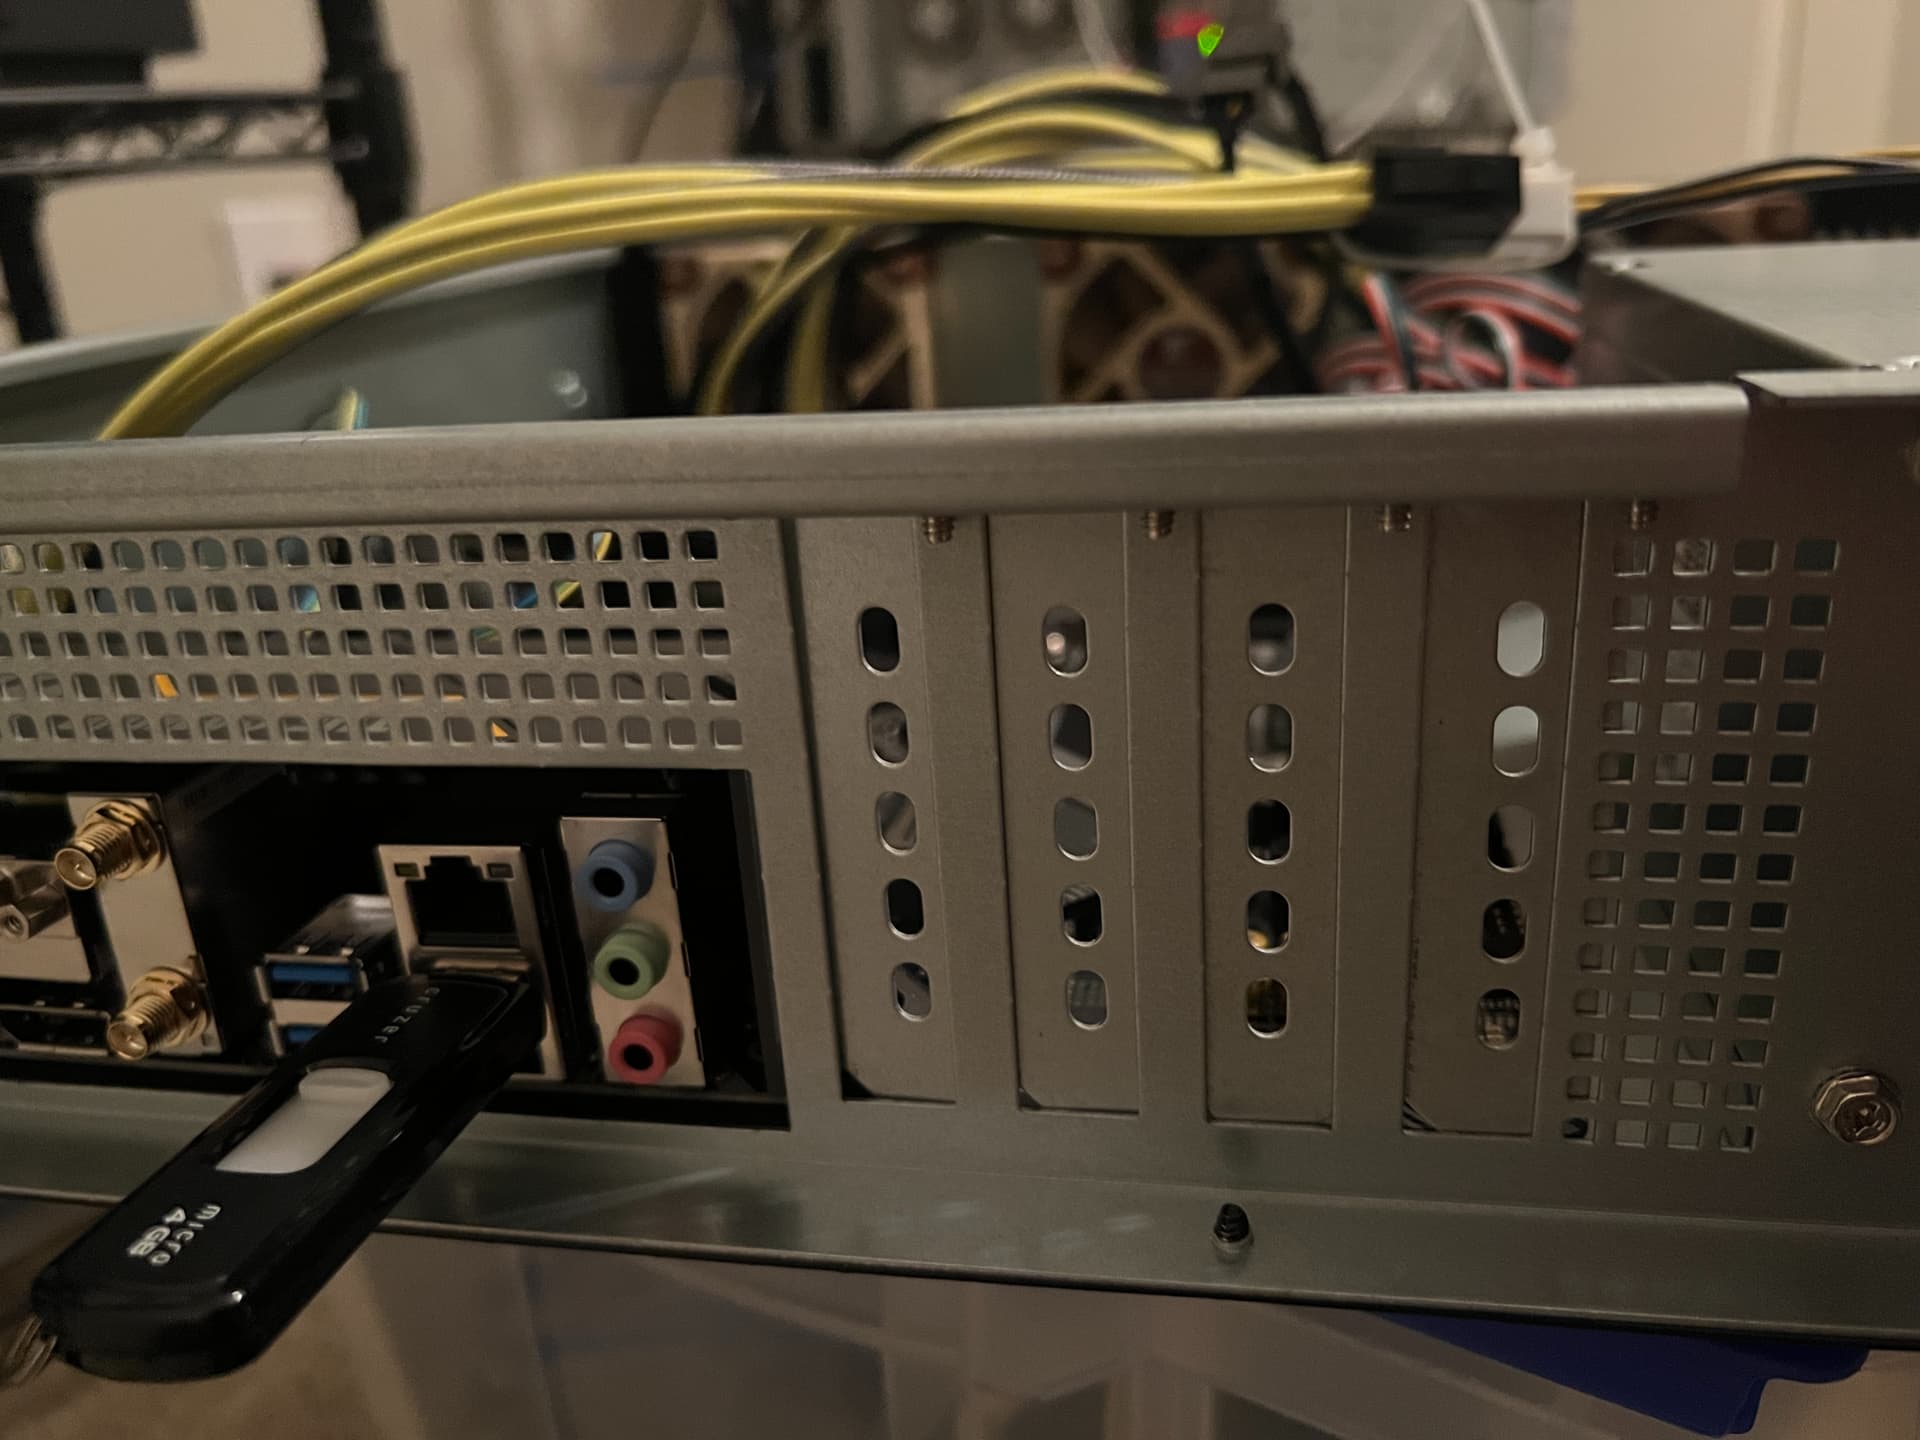
Another issue I ran into with this particular chassis was a small lip on the back top of the chassis that prevented my half-height PCI card adapter from sitting. The protrusion of the adapter used to secure the card to the chassis was extended too much and hit the chassis.
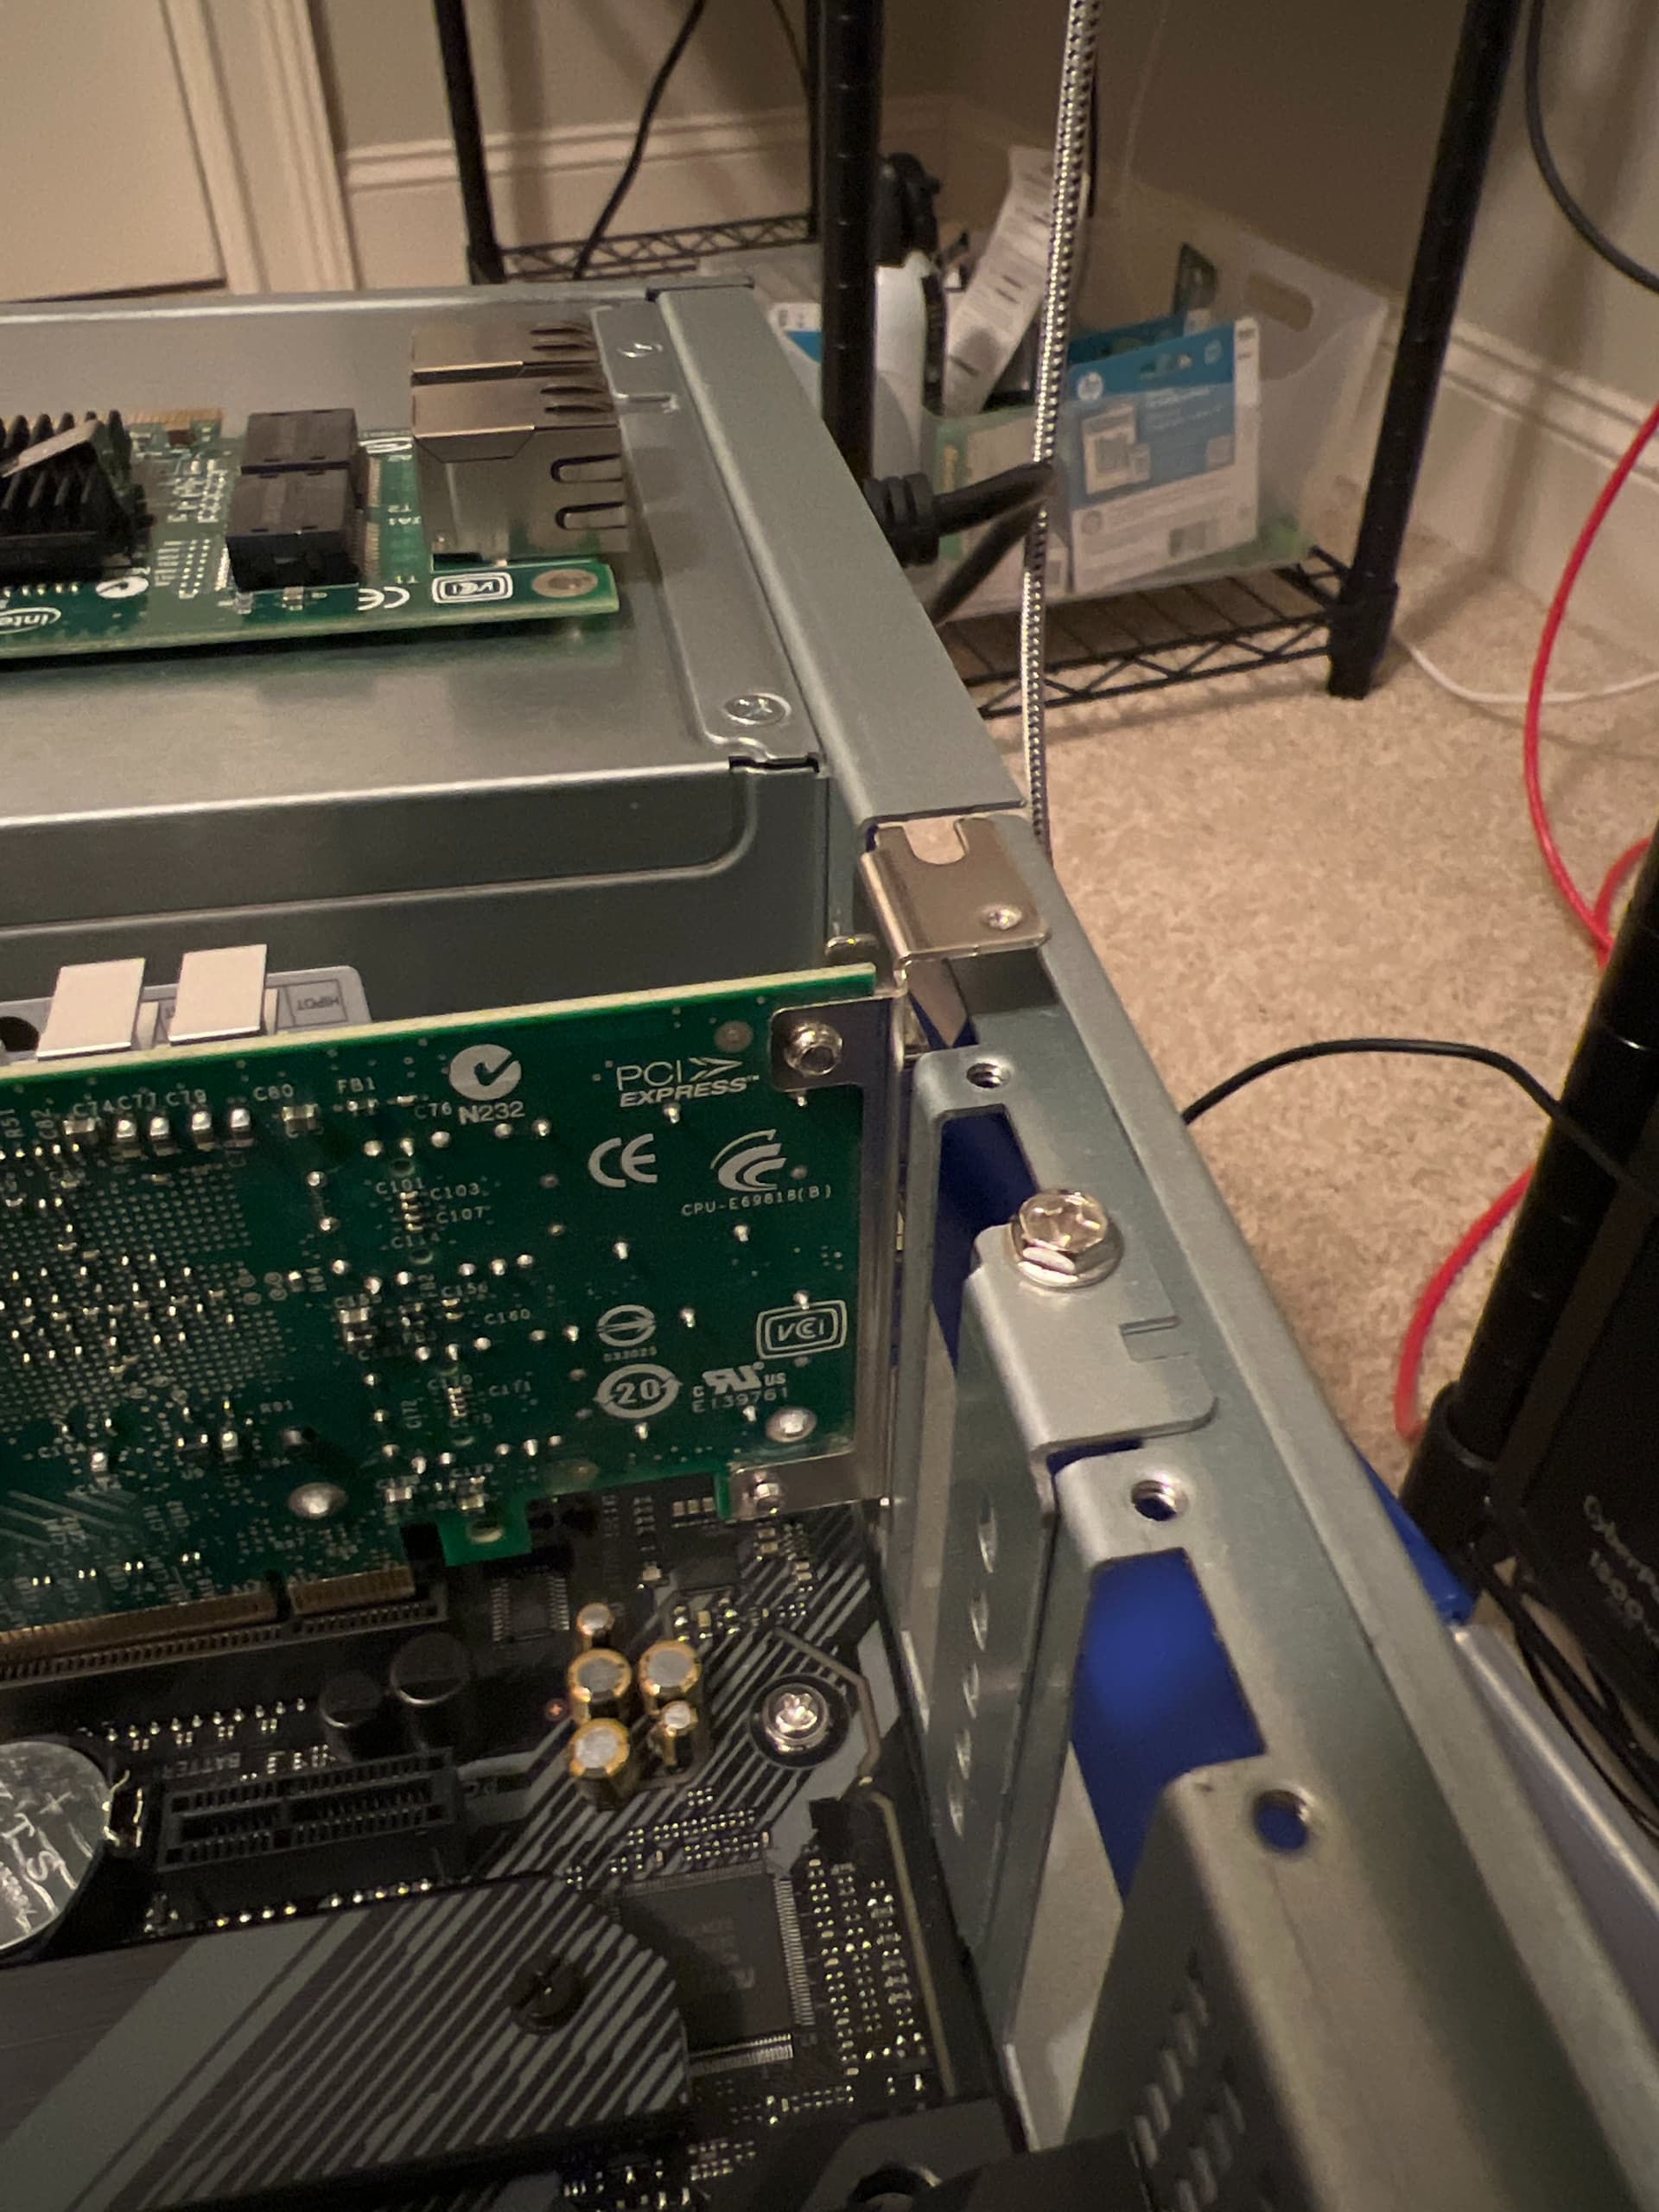
Good suggestions were made to install the card before placing the motherboard into the chassis. I opted for a more temporary fix which was to remove the half-height adapter bracket from the card and then shimmy it while installing the card. I would not do this normally, but I know I will change this network adapter in the coming months.
Got OPNSense installed and running, and I’ve been using the new router for the last few days successfully. I also wanted to check in on the power draw from the wall. One of the big reasons I went for a ~200w power supply was to be as efficient as possible without spending on a pico PSU. And at the 20-30w (guessed at the time) power draw, I worried a 650w+ PSU would waste enough power to cover the cost of a cheaper PSU.
Draw on boot:
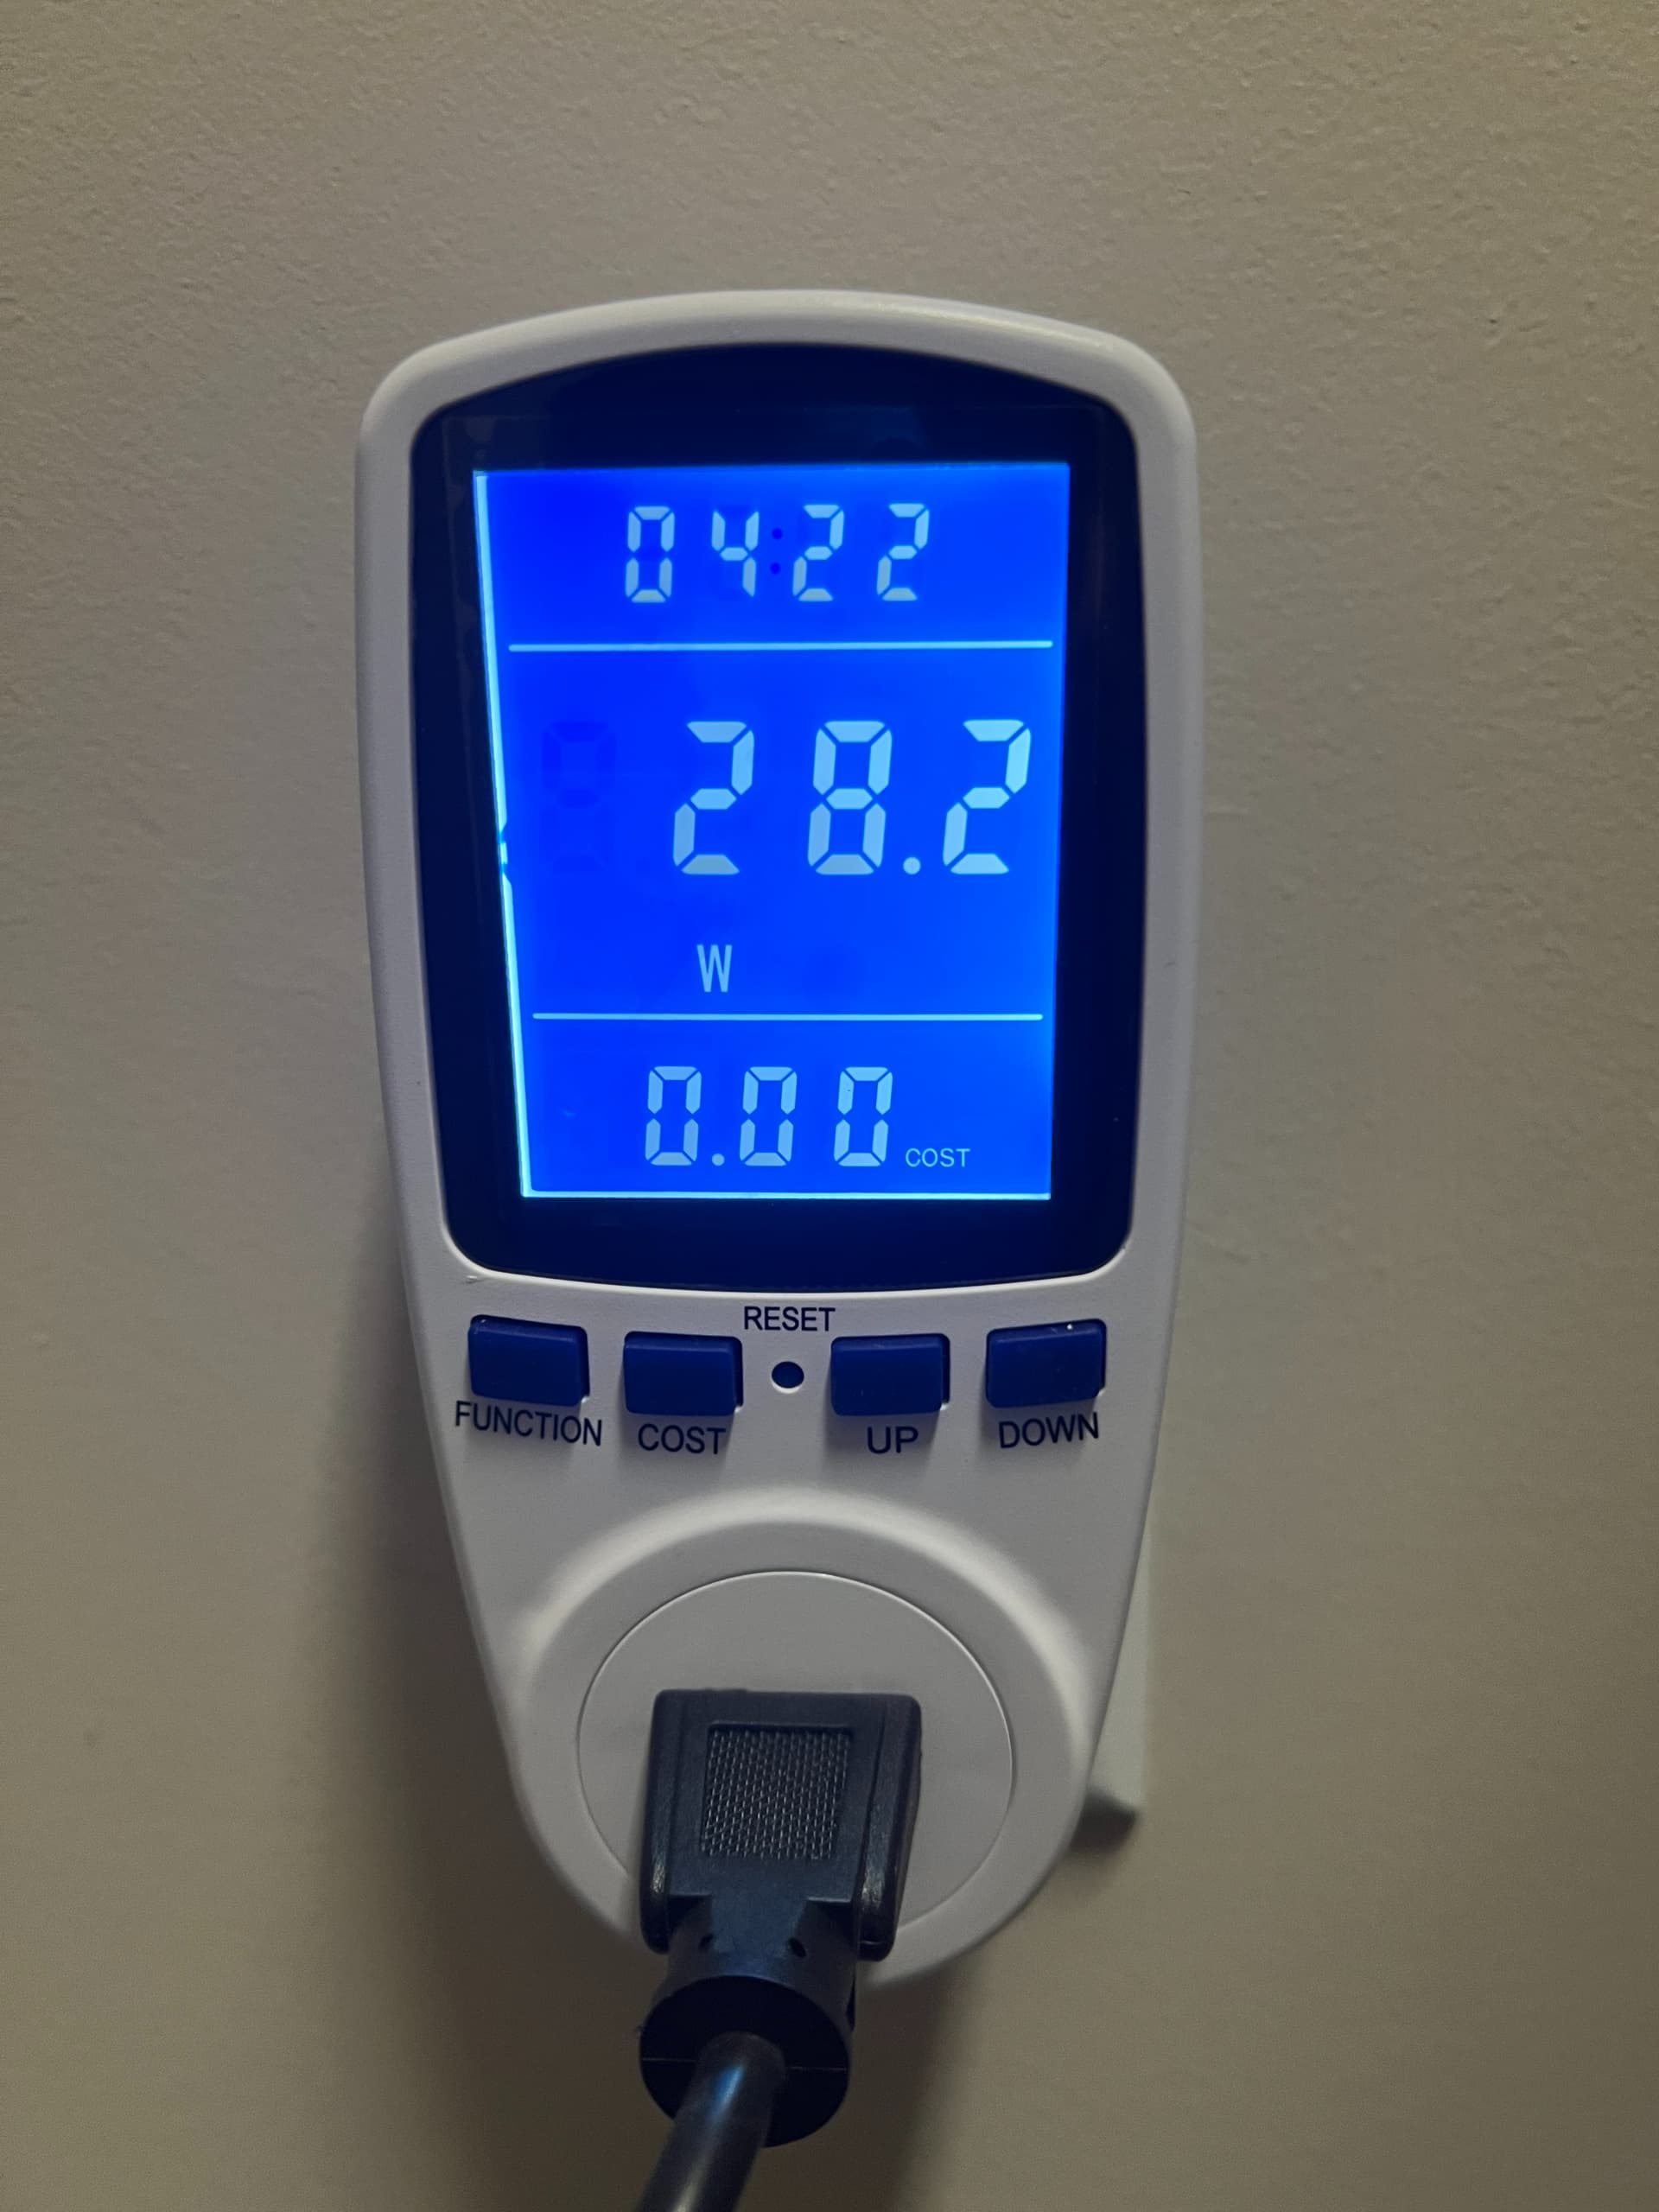
And here is the draw +3 hours after boot and then +10 hours after boot with normal network activity:
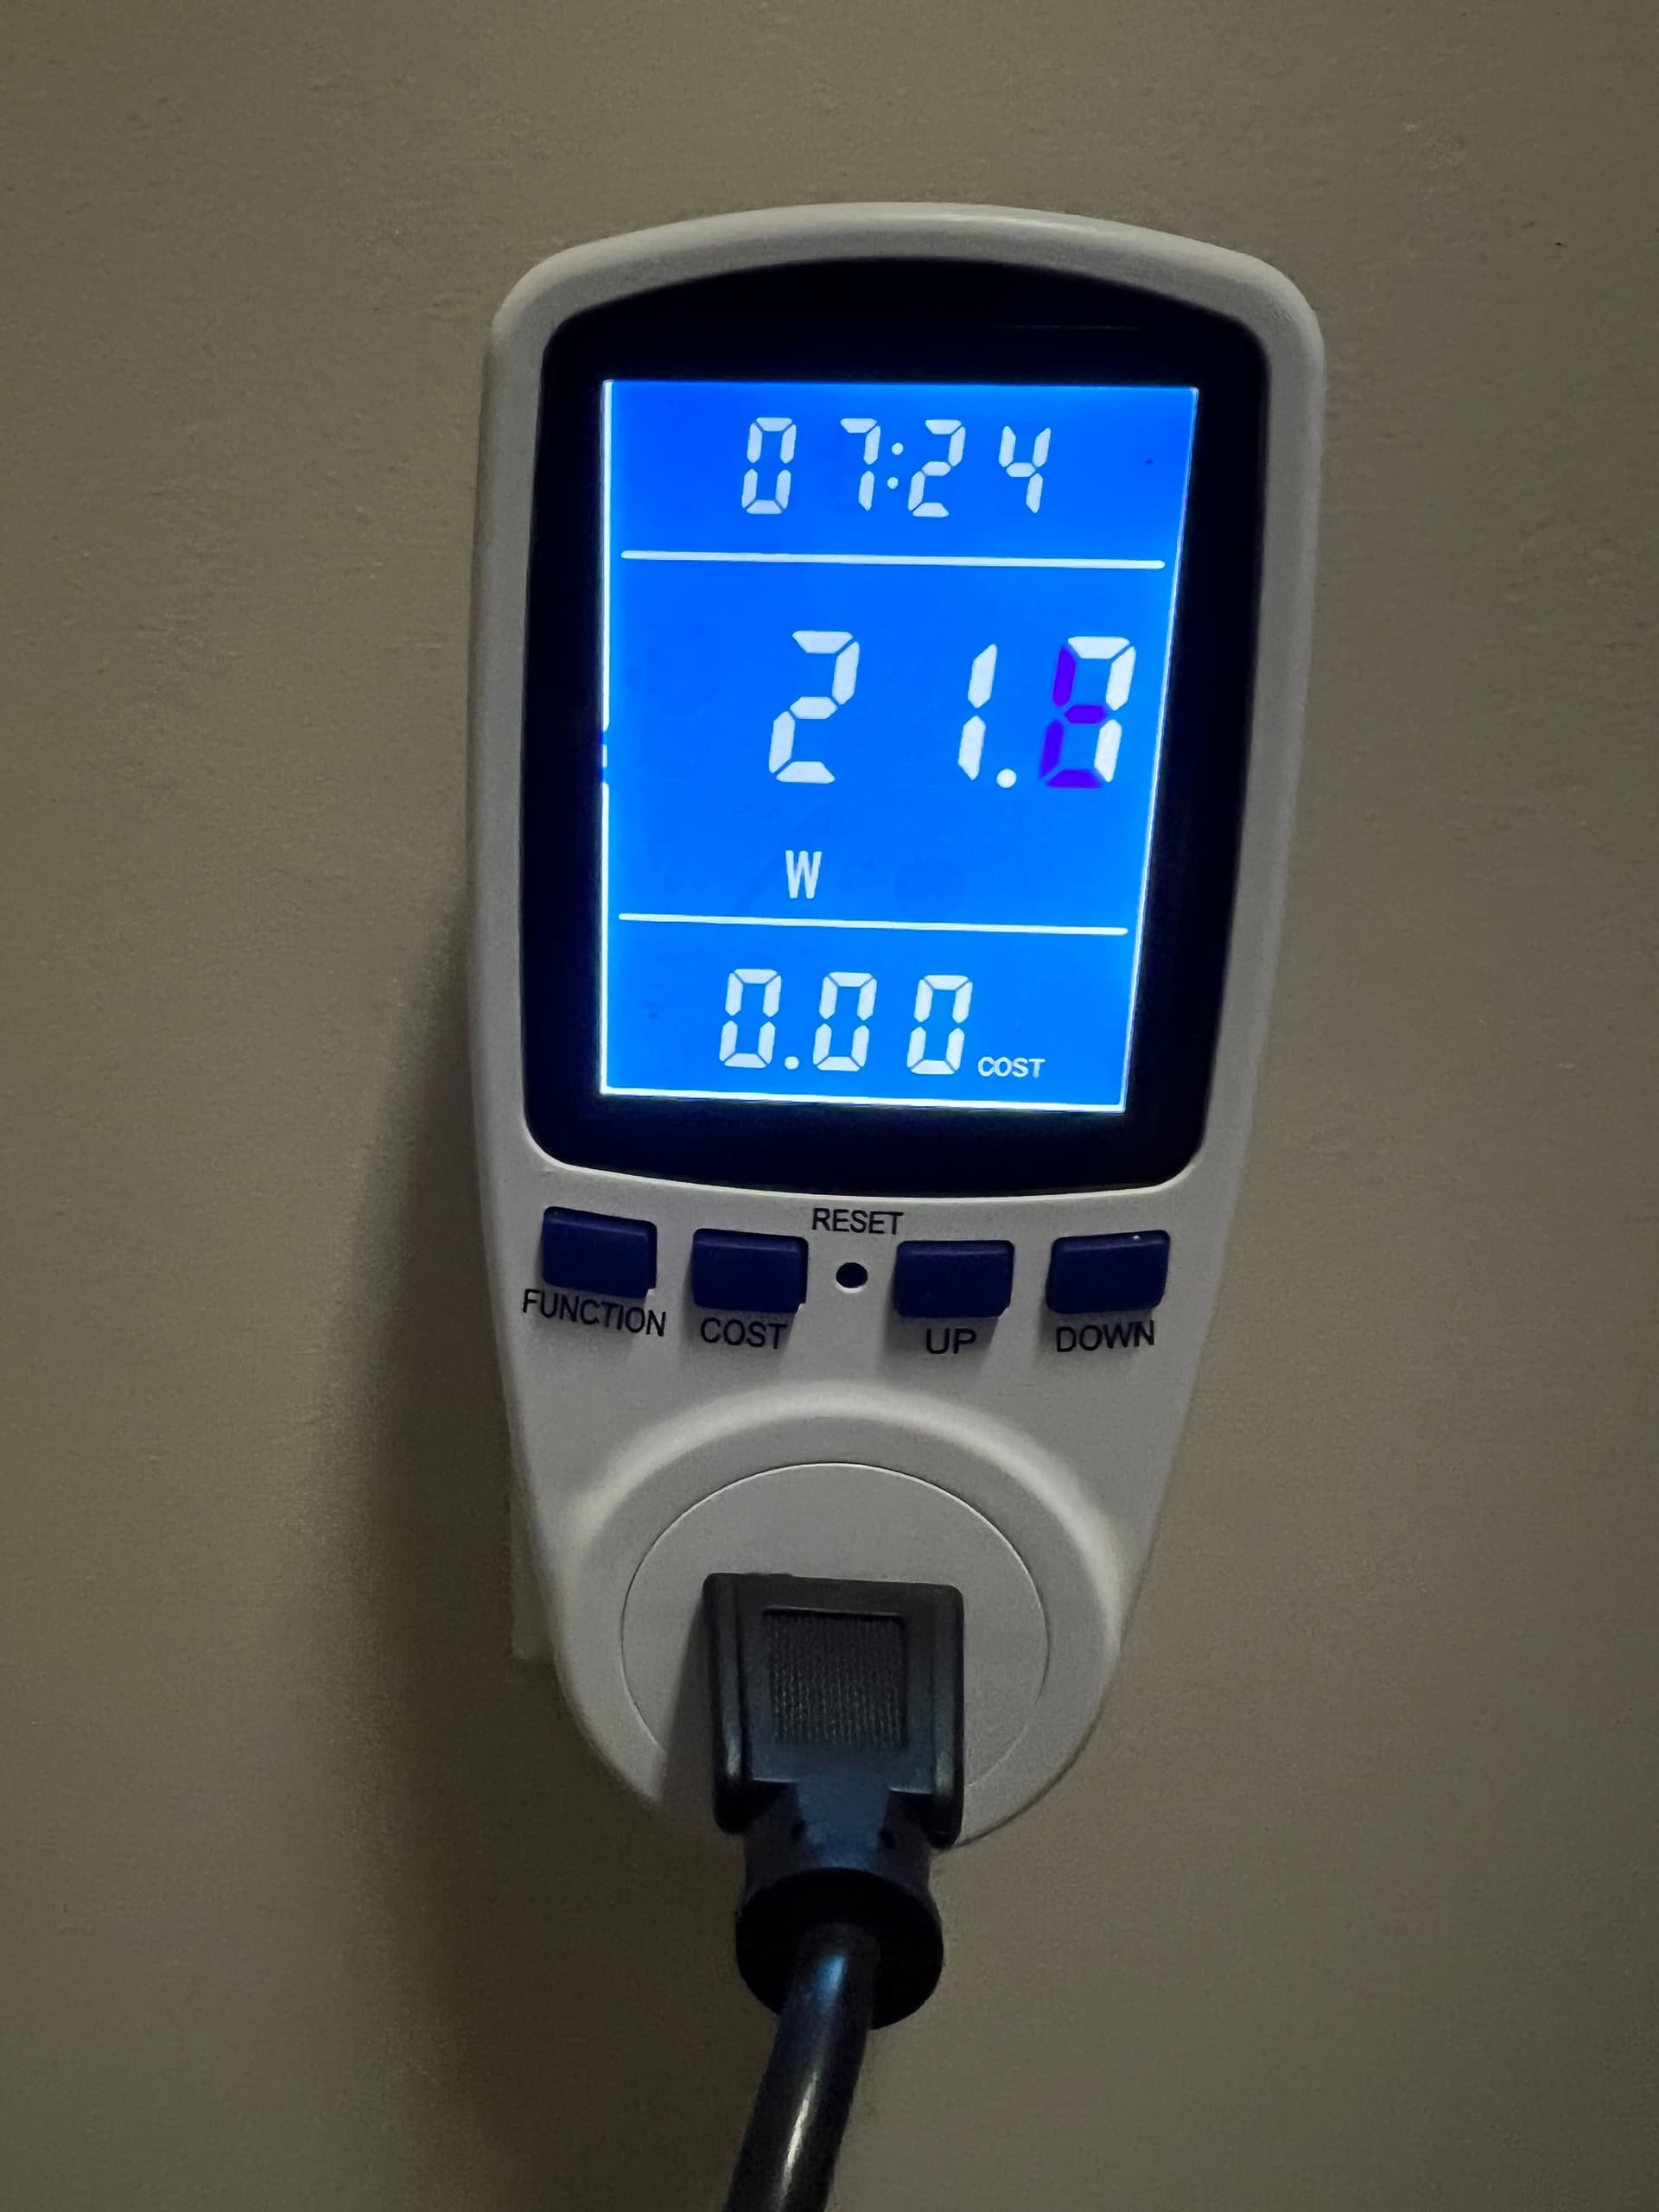
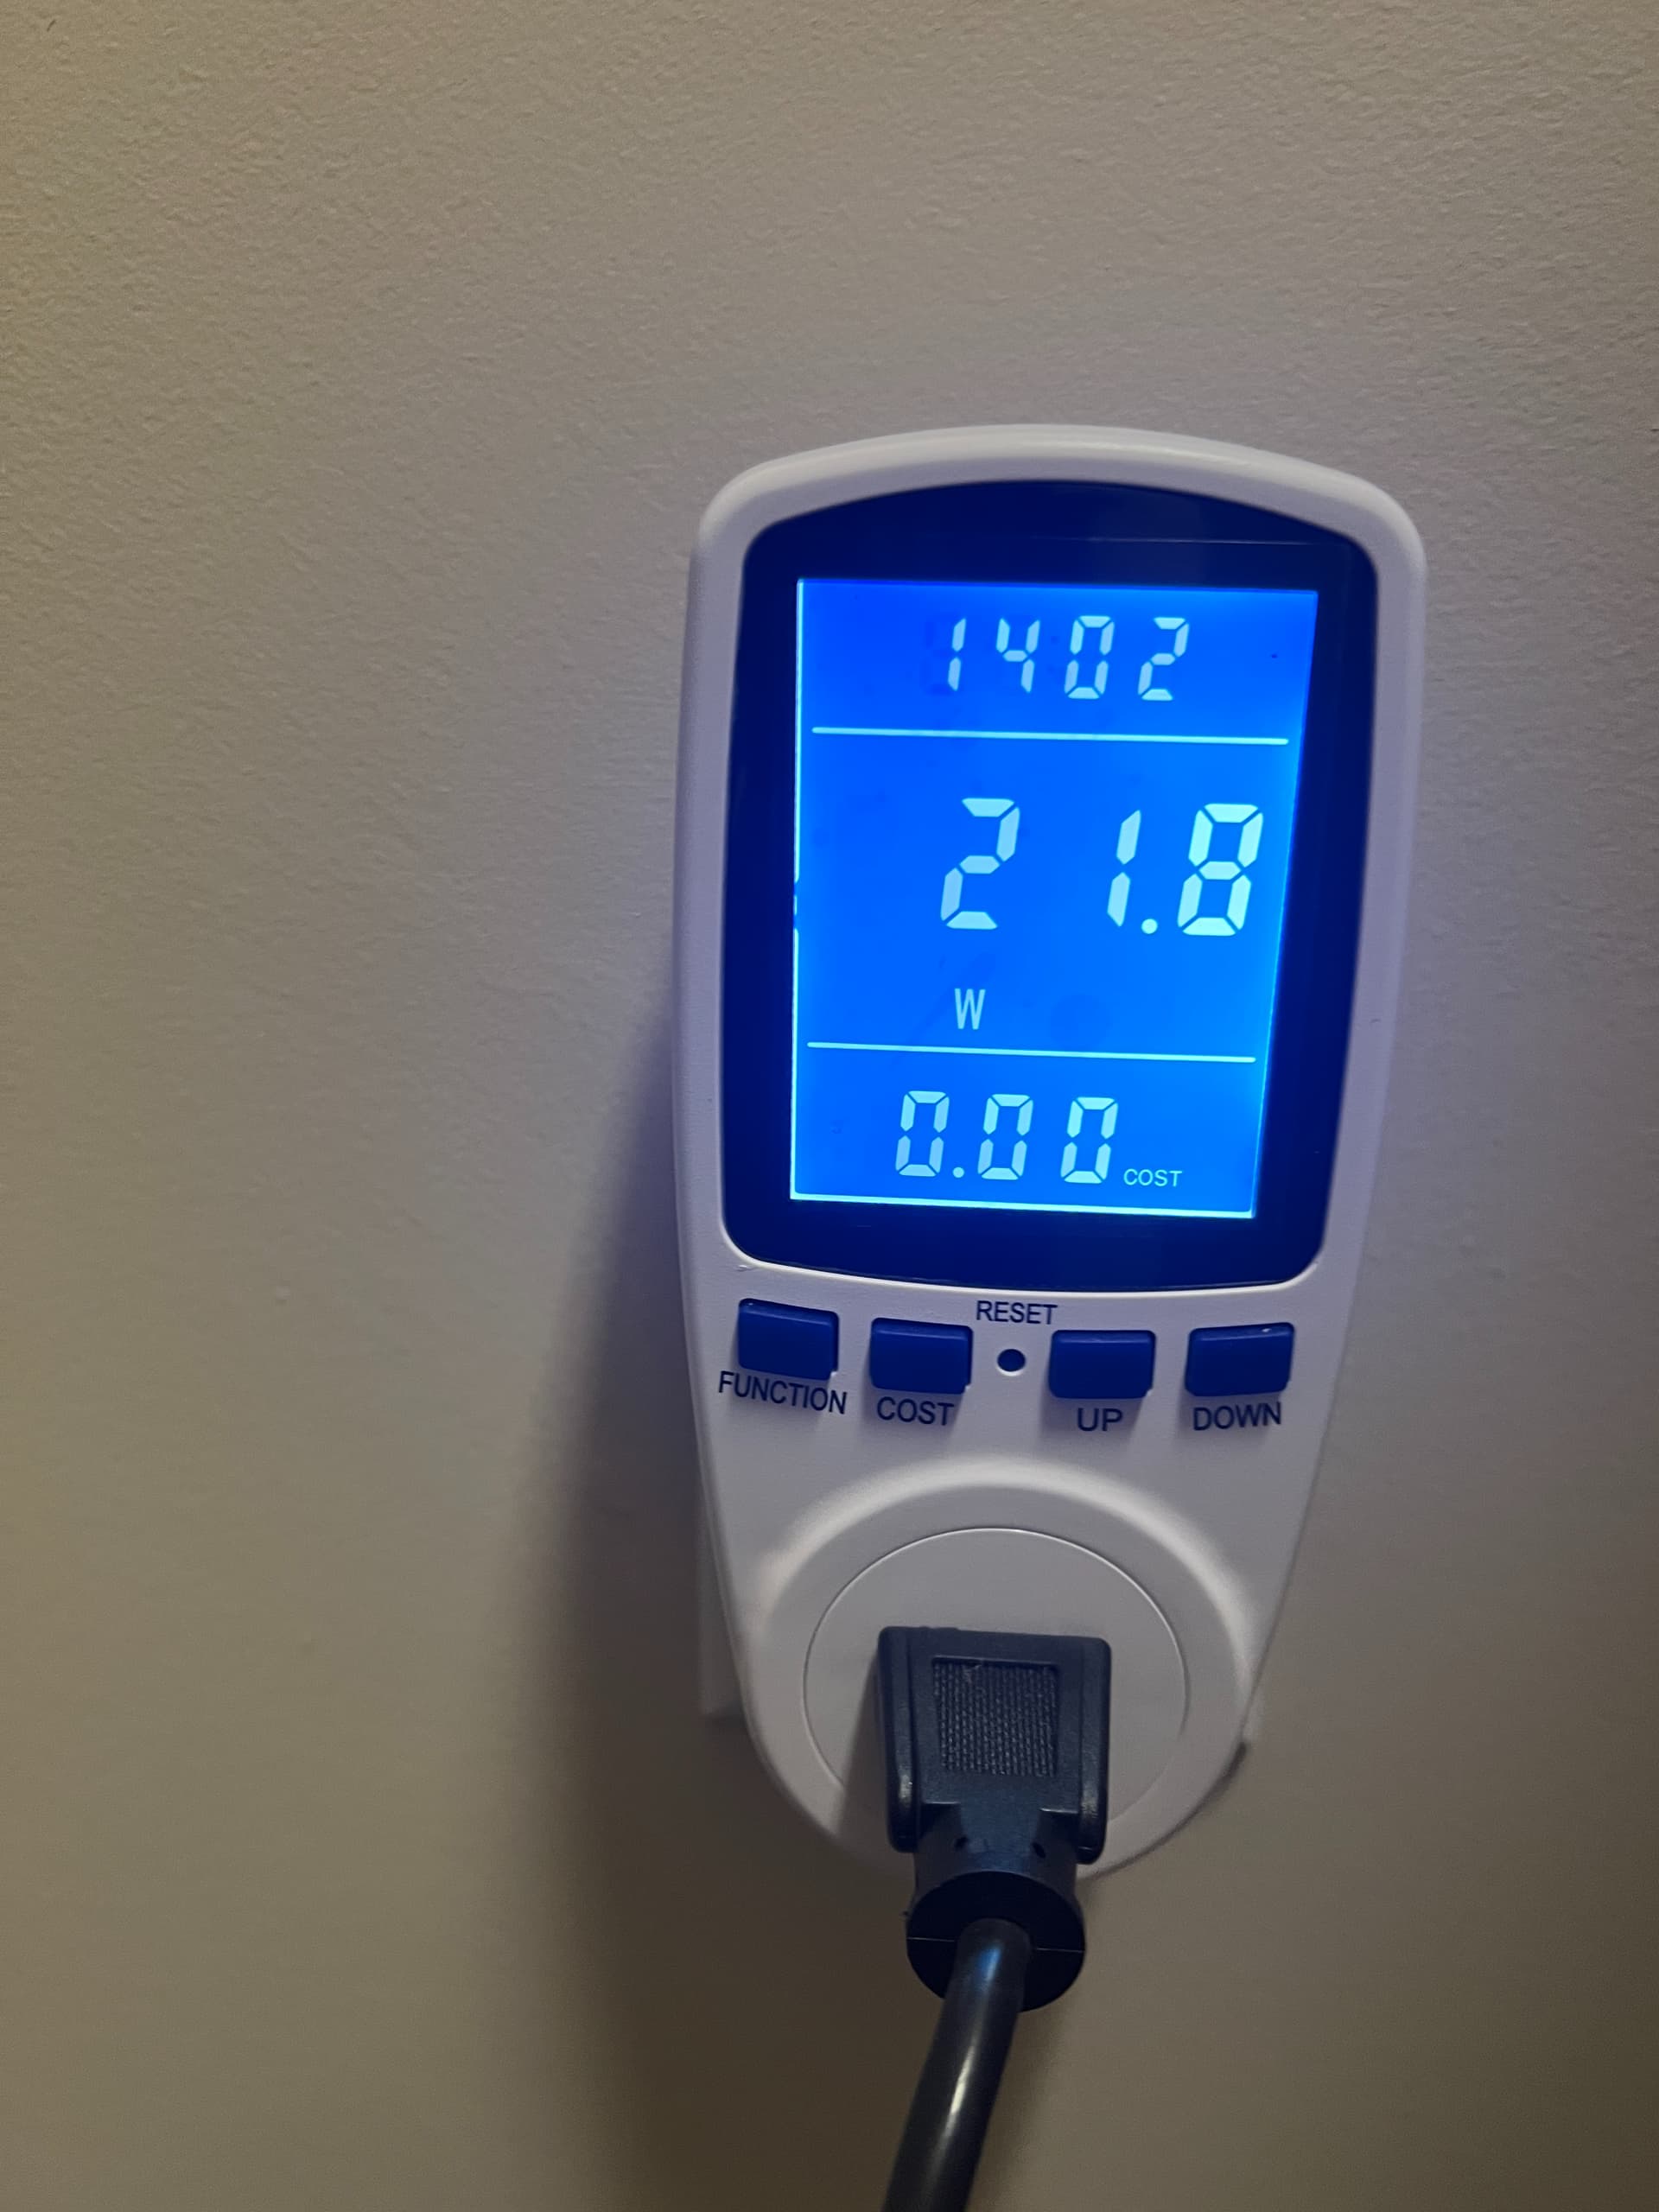
The previous HP290 was around 15-18w. This felt like a fair trade in wattage for more power and upgradeability.